Popular Content
Membrain for:
From the Automations' main page, you have access to the following tools.
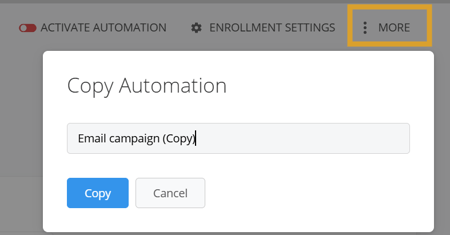
To reproduce multiple Automations of the same type without the manual toll of recreating them all from scratch each time, you can base a new Automation of an existing one, copy it and change the Enrollment Settings or Steps from there.
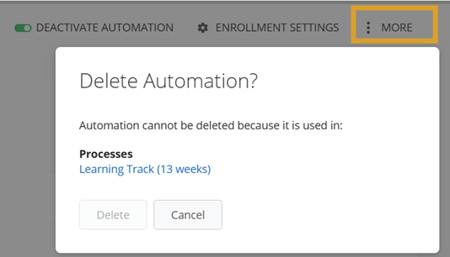
If you want to remove one of your Automations follow these steps:
You'll find this toggle next to the Enrollment Settings button in the top right corner of each individual automation.

This toggle will also be available next to each of your automations in the Automations Main Page, where you can filter and group your list by type and status.
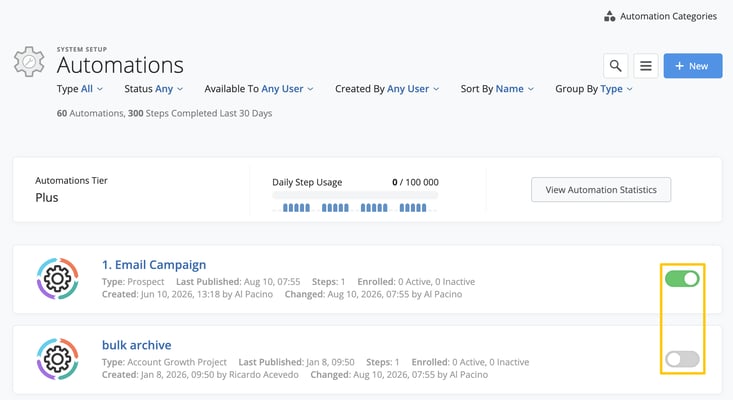
You can use the filters at the top of the Automations Main Page to quickly narrow down the list and find what you're looking for.

You can filter Automations by:
You can also use Sort By to control the order in which items appear, or Group By to organize the page into useful groups.
These options make it easier to manage larger Automation setups without having to search through the entire list each time.
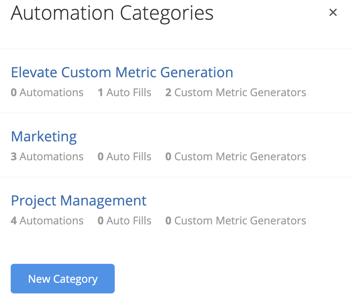
Categories help you organize your Automations, Auto.Fills, and Custom Metric Value Generators, making it easier to find and manage them as your setup grows.
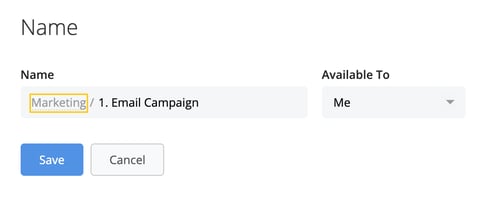
When creating or editing one, you can select a Category as part of the Name field. This works similarly to categories used for Snippets and Email Templates, allowing related items to be grouped together.
To manage your categories, go to the Automations Main Page and click the Categories icon in the toolbar.

From here, you can create new categories or edit existing ones. Once your categories are set up, you can use them to keep related Automations, Auto.Fills, and Custom Metric Value Generators organized.
At the top of the Automations Page, you will see the daily step usage bar, showing your Membrain account's current usage and the maximum limit according to the Automation Tier you're on (Basic or Plus).
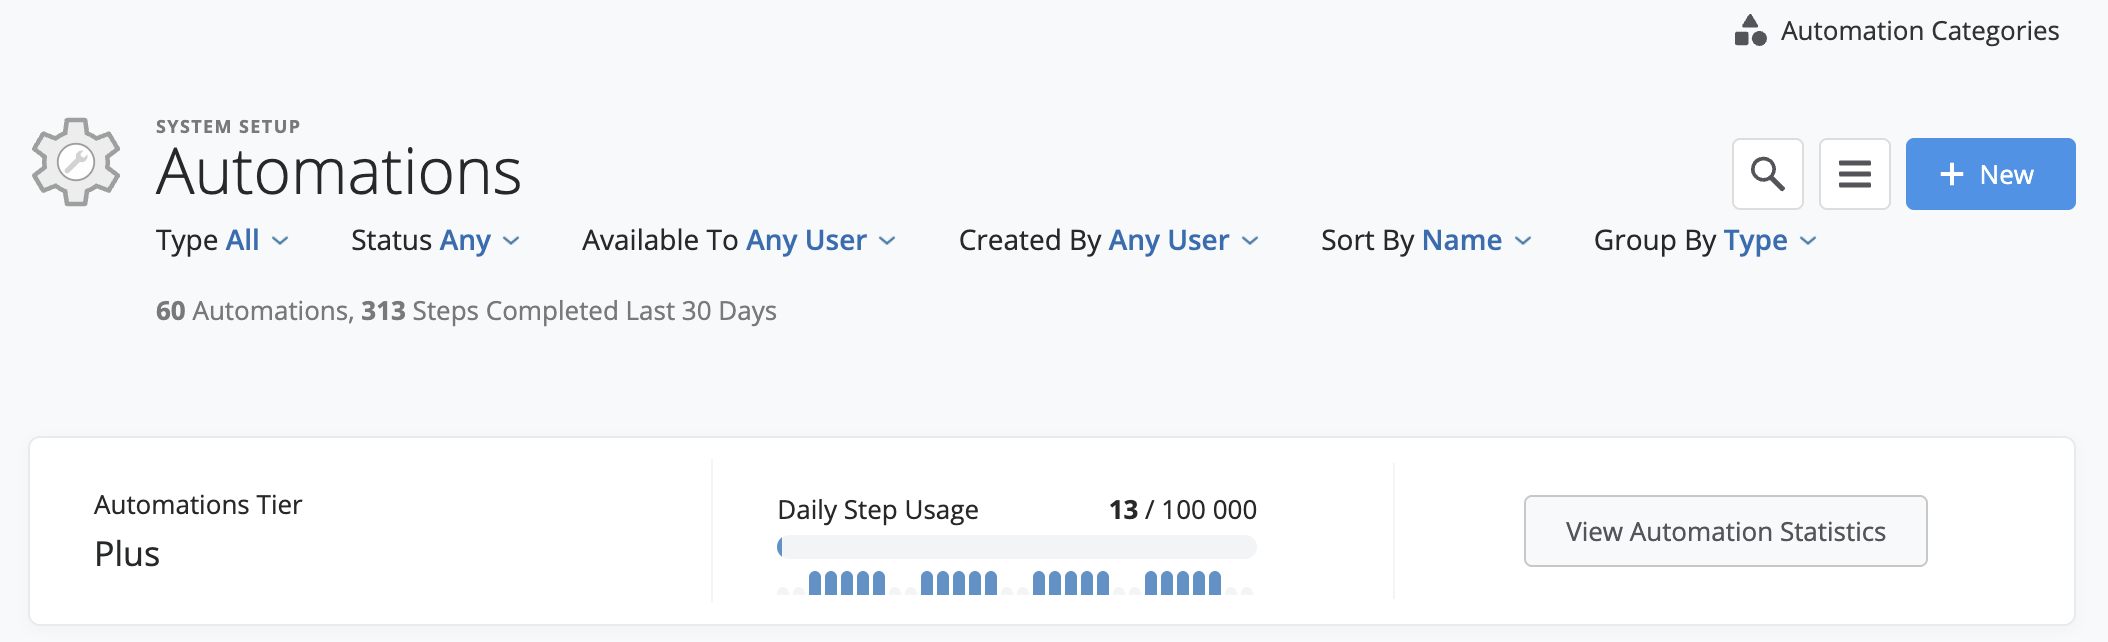
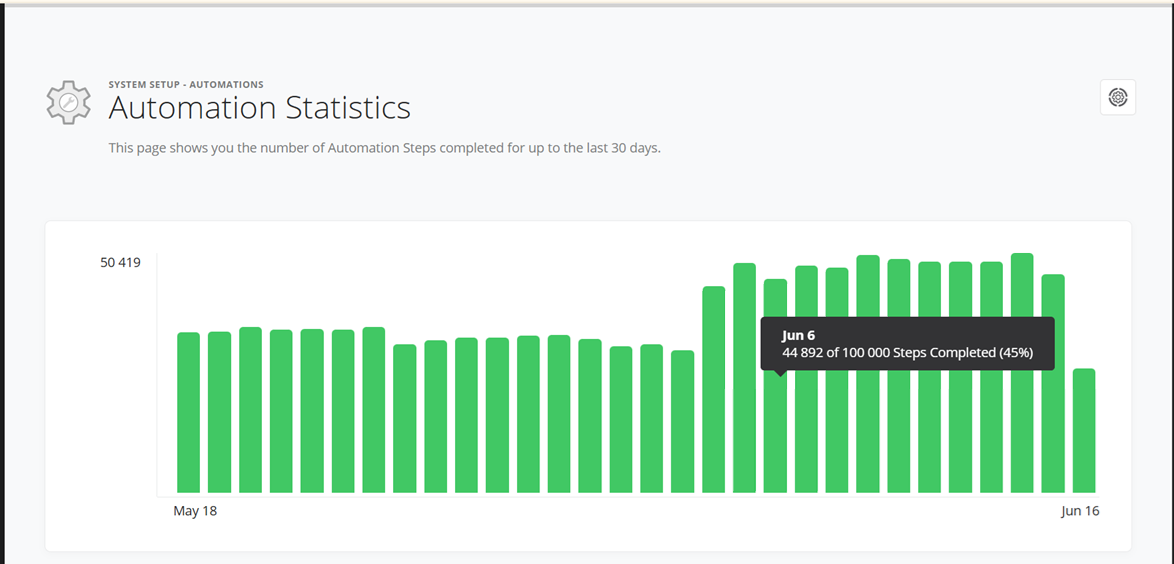
By clicking on the View Automations Statistics button to your right, you can access more detailed information on your daily usage for the last 30 days.
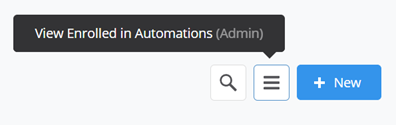
From the hamburger icon in the top-right corner of the page, you also have access to a list of everything that has been Enrolled in Automations.
In the Enrolled in Automations list view you will see what Automations have been applied, what type of object has been changed (Prospect, Sales Project, Account Growth Project, Ticket, Company or Contact), a summary of the completed Automation Steps for each object and if the Automation is still Active or Completed.%20(png)%20b.png?width=1307&height=561&name=Enrolled%20in%20Automations%20list%20(combined)%20(png)%20b.png)