Using the integration between Mailchimp and Membrain is a powerful capability to align your marketing efforts with your sales.
| Data Type | Membrain → Mailchimp |
Mailchimp → Membrain |
Notes / Limitations |
| Companies | Create new and sync existing | ||
| Contacts | Create new and sync existing | ||
| Prospects | Partial | Only create new in Membrain. Process fields can only be pushed on Prospect creation. | |
| Sales Projects | Partial | Only create new in Membrain. Process fields can only be pushed on Sales Project creation. | |
| Account Growth Projects | Partial | Only create new in Membrain. Process fields can only be pushed on Account Growth Project creation. |
Saves Time – Eliminates duplicate data entry between systems.
Reduces Errors – Ensures accurate and up-to-date company and contact records.
Setting up the integration is quick and easy, and with the step-by-step instructions below to help you get started, you'll be up and running in no time.
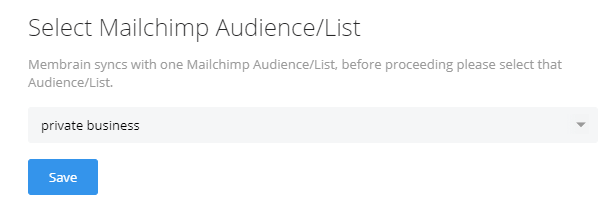
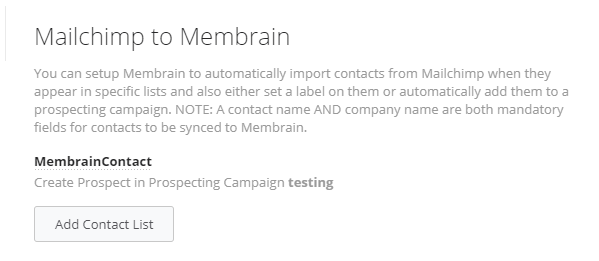
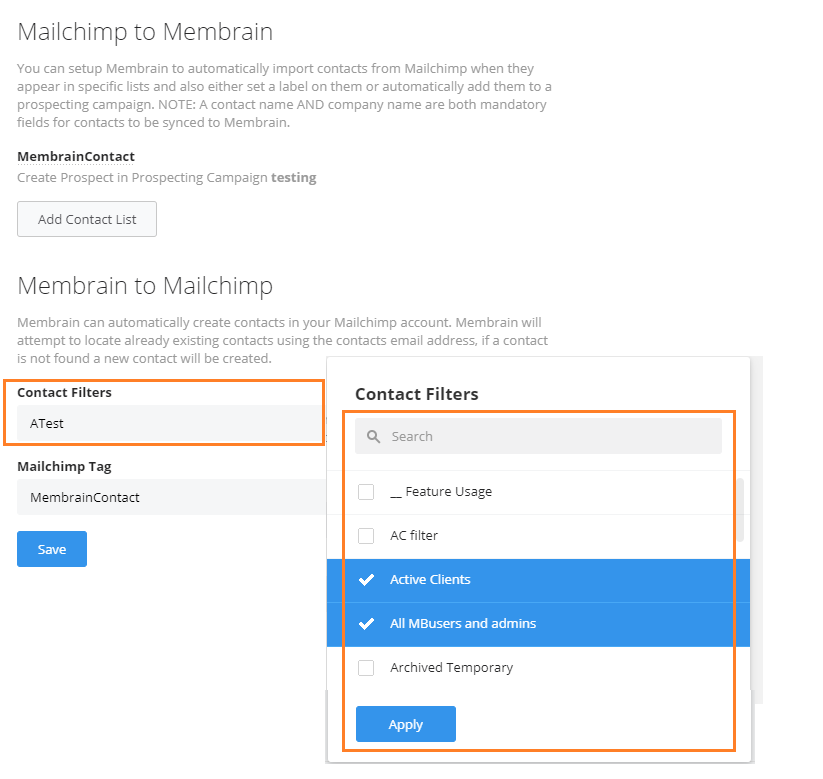
You can setup Membrain to automatically import contacts from Mailchimp when they appear in specific lists and also either set a label on them or automatically add them to a Prospecting Process or Sales Process.
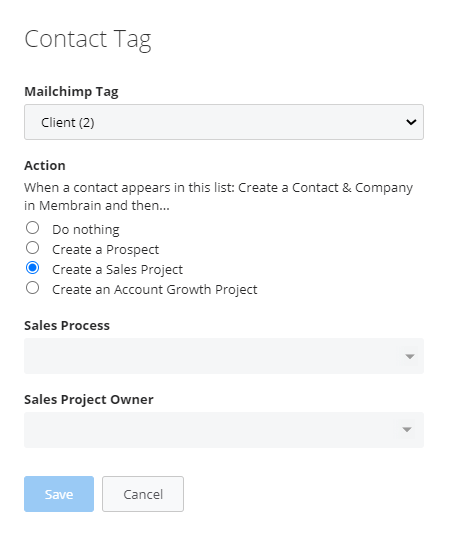
Once you select your list, Membrain creates a Contact and Company in Membrain, then you can decide what you want to happen within Membrain based on the Action you select.
Membrain can automatically create contacts in your Mailchimp account. Membrain will attempt to locate already existing contacts using the contacts email address, if a contact is not found a new contact will be created.
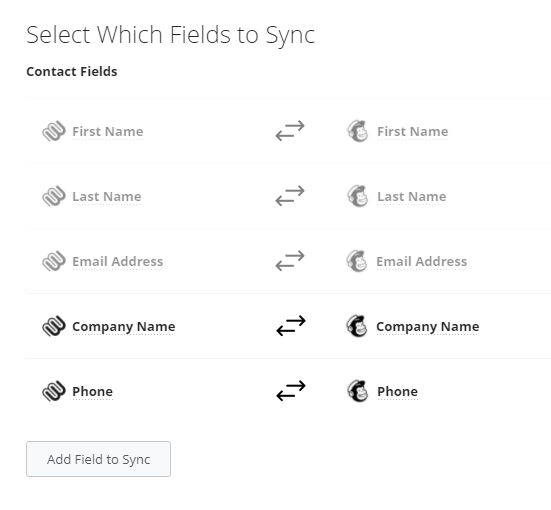
Syncing additional custom fields allow you to configure which additional contact information will be synced from Mailchimp into Membrain, or from Membrain to Mailchimp. In addition to contact fields, company fields, such as Owner, Process, Owner, Key, and more, can be mapped. You can also populate Company fields when a new Sales Project, Prospect or Account growth project is created.
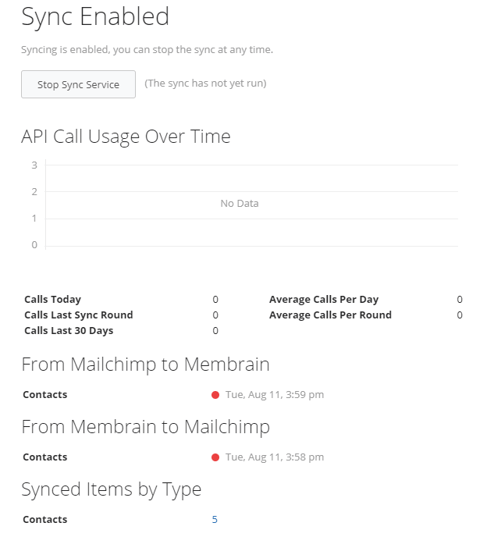
A helpful area to check on the status of the sync and how each field sync is performing is the Status Area.
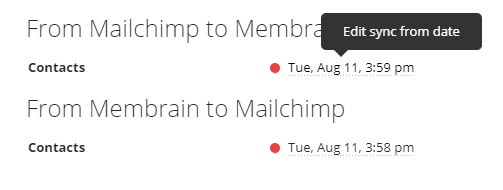
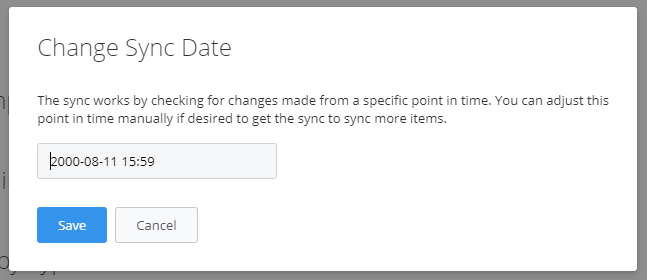
During the initial sync process, if the data being synced has not been modified recently, change the sync timestamps to an earlier date. To update the sync date:
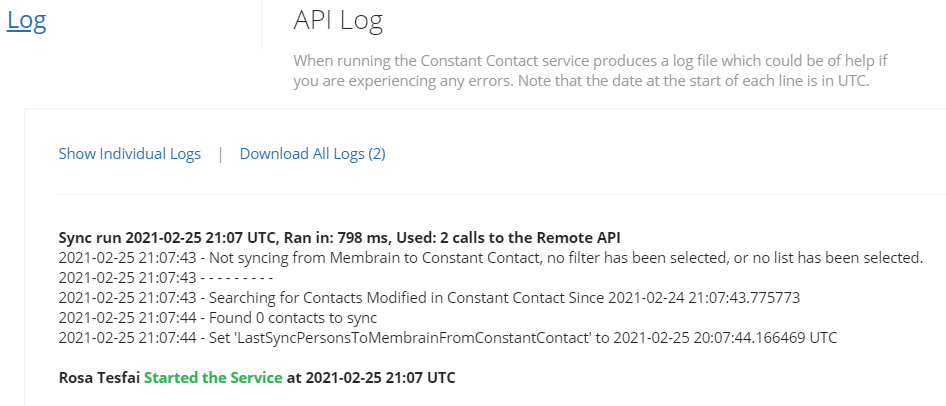
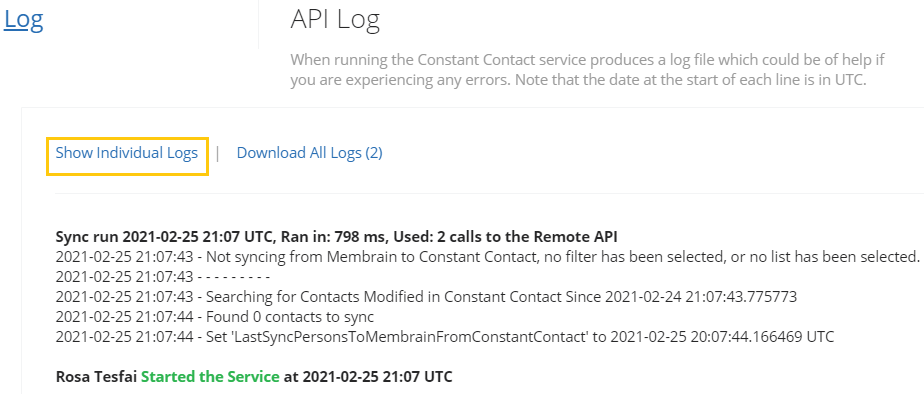
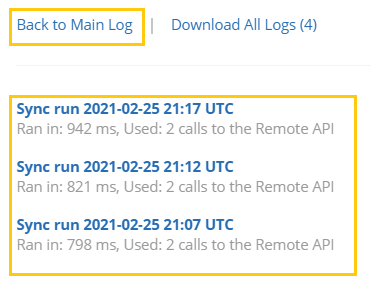
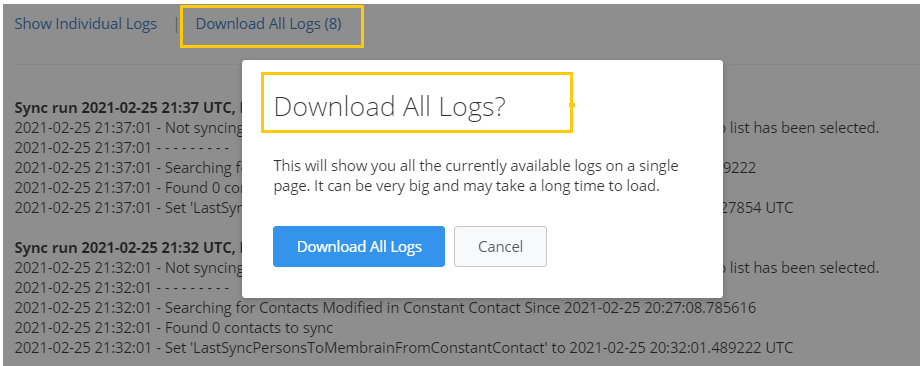
This log can be useful for those with a more technical background. The log lists every event related to the sync in date order and can be very useful for analyzing or troubleshooting the sync.