The steps you outline in a Process don't have to be simple checkboxes. By adding tools or details to steps you can help salespeople to discover important information, offer the tools to carry out an activity, and become more productive as they work through a prospect, sales project, or account growth project.
For example, a step can automatically load an email template to be sent to a contact, offer up options to choose from in a dropdown list, or prompt you to upload an important document.
More complex tools can also be applied, such as creating Playbooks, Scorecards, and Qualifiers, which can really add depth to your process.
Walkthrough video of how to add steps to a process
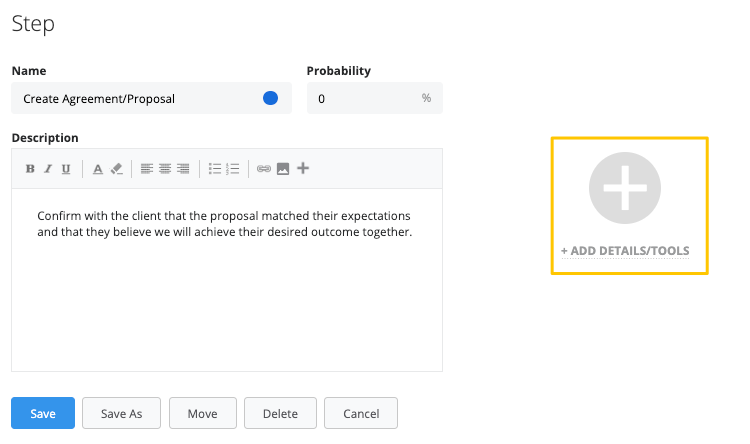
Adding tools or details to a step in the process gives you extra functionality to steps, and prompts the salesperson to add information or carry out a task. Read on to learn about the options available and how to add them to a step.

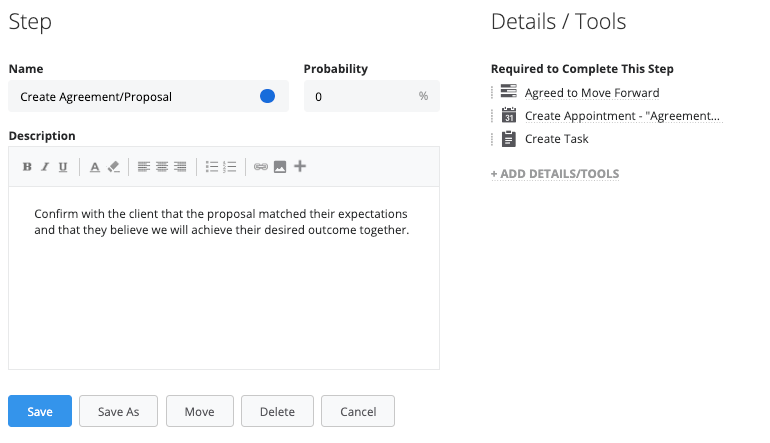
Tools are broken down into 4 categories - Details, Stakeholders, Actions, and Other.
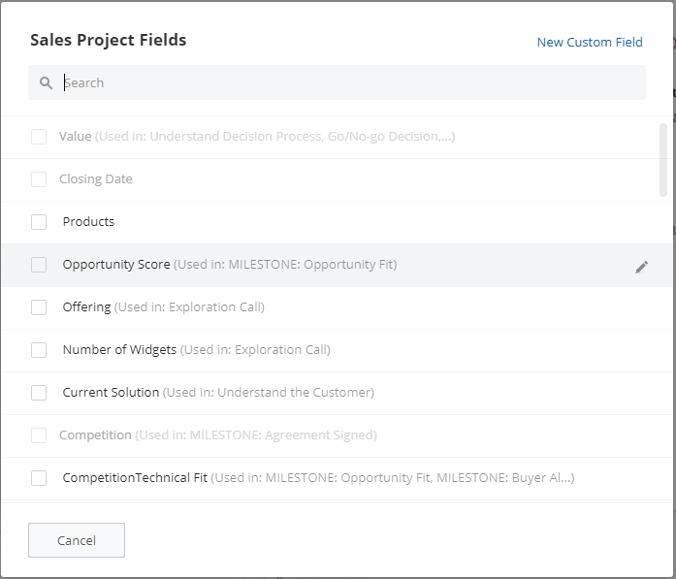
Adding a custom field to your process will prompt the salesperson to add details relevant to the following areas:
Once you've decided at which level the data should be stored, you can either select a field that already exists or create a new field. These tools are then presented in the process in the form of a single or multi-select list, a numeric field, a date field, or simply a text field, plus lots more options.
This option prompts you to add information about Stakeholders to the Prospect, Sales Project, or Account Growth Project. This information appears in the Middle "Who" box.
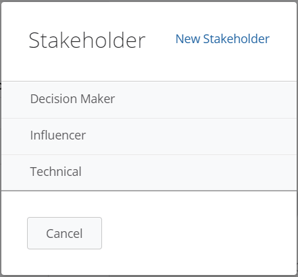
Repeat steps 1 and 2 above until you have added all the Roles for Stakeholders relevant to your process. Read more to learn all you need to know about Stakeholders and Roles in Membrain.
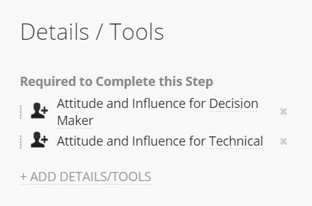
Documenting who the key players or stakeholders are in a Project is of course important. But what about their influence on the decision process? Or their overall attitude towards the project? Add these questions to a step in the process and track the Stakeholders' Attitude and Influence in one simple step.
Options here add actionable items to steps to help streamline the workflow for salespeople and aid them with the task at hand. Options available are:
This option allows you to send an email or email template from a step. As a salesperson, clicking on this step will automatically open a new blank email, or a predefined email template with your predefined text, any attachments included and even the recipients pre-selected.
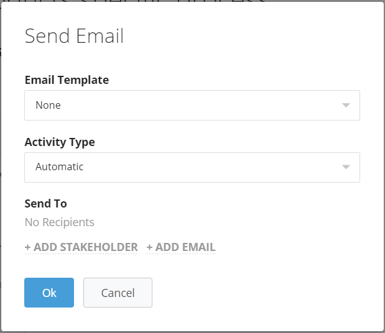
You must have Membrain's email client enabled to use this feature. To learn more about this, click here.
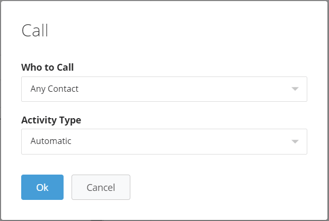
This option prompts the salesperson to make a call to a contact related to this project. If you have a softphone app installed on your computer, you can configure Membrain to connect to that and make the phone call from within Membrain.
If you choose to make the call via your own landline phone or cell phone, you can simply make some notes about the conversation itself.
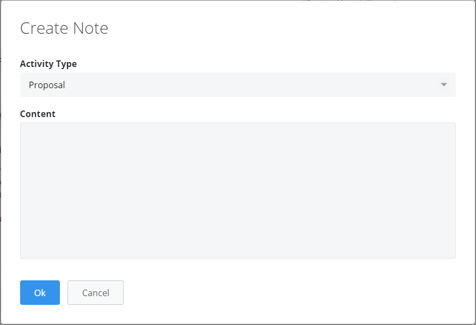
Add a Note to complete a Step could come in handy if you for instance want your Process to support the team to always put the meeting Notes they've written down after an Exploration Call, into Membrain. In the Note, you can of course use Mentions and Comments to keep other users in the loop, such as the Sales Manager.
Choose this option if you would like this step to prompt you to create an appointment and perhaps send invites to your contacts, in order to complete the step.
When adding this tool to your process you get the option to add a default setup that is applied when a User is completing the step. The settings are optional to add but can certainly be useful.
Best Practise tips: By having a specific Activity Type as default, you will be able to easier and effectively measure the proportion of this Activity Type that your team completes.
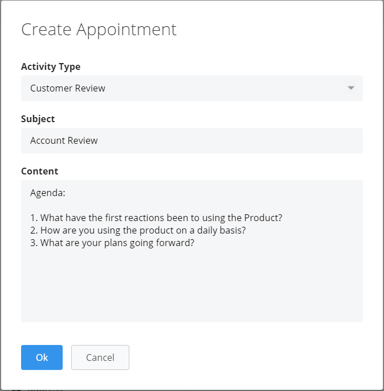
Click here to learn more about activity types.
It is possible to include several appointments to be booked in the same step.
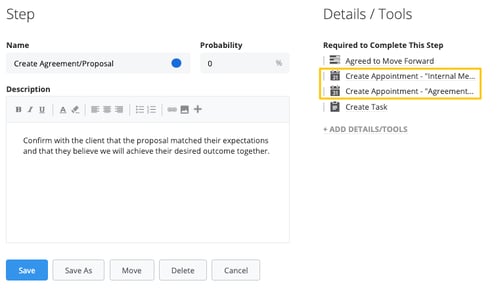
The ability to create a Task from a Step can be used for lots of different scenarios. For instance, to make sure you always create yourself a reminder to follow up on your sent proposals or to include a non-Sales representative to prepare the delivery of your product.
When adding this tool to your process you get the option to add a default setup that is applied when a User is completing the step. The settings are optional to add but can certainly be useful.

This tool is only available if you are using the DocuSign and Oneflow Integration.
Learn how to set up the Integrations here.
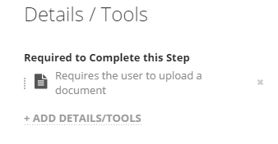
This option prompts the salesperson to upload a file to the process. This file is then visible within the step itself and also in the Documents area below the Participants area.
The Process Checklist allows you to itemize actions you need to take from within a step in your process.
This is extremely helpful for salespeople that are walking through the steps in their process and ensuring all the items they need to complete a step are included.
For example, a salesperson might want to assemble an information kit to send their client. They might want to include a price guide, detailed product info, delivery timeframe, or other important information the buyer might need.

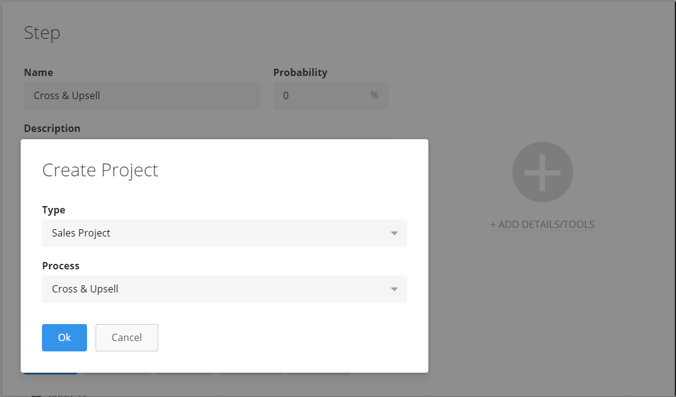
Create a new Prospect, Sales Project, Ticket, or Account Growth Project within a Step.
The tools available here are more complex, adding depth to your process. Choose from:
Playbooks in Membrain give you even more power to control and dynamically change your processes based on conditions you specify, which are relevant to your business. Learn how to create your first playbook here.
Adding importance to particularly important steps in a process generates an alert to indicate that there is a problem that needs to be addressed. These alerts come in the form of a blue puzzle piece, a yellow flag, or a red flag and can be customized to trigger after a specified time.
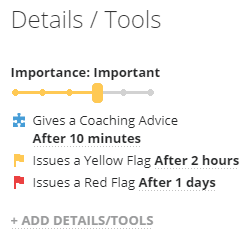
Learn more about Adding importance to Steps.
Qualifiers can be used in Prospects, Sales Projects, and Account Growth Projects, but often for different reasons. They can identify potential problems in sales projects before they become an issue, help you filter out Prospects that might not be worth pursuing, and pinpoint the ones that have potential. Learn more about Qualifiers here.
Introducing Assigned Steps to your processes is a great way to manage sign-offs before moving to the next stage, or passing the baton to a colleague in a sales project. It works by ensuring that a particular step can only be completed by a specific person/people or by someone with a particular role. This could be a sales manager, coach of an individual, or a colleague in another department. As long as they have access to Membrain, you can assign steps to them.
Learn how to set up Assigned steps here.
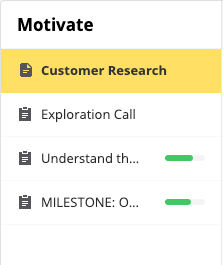
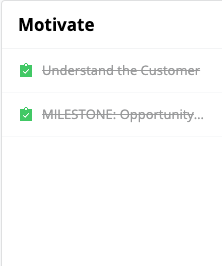
Milestones are used to mark specific points as significant, providing visual cues to guide progress and recognize achievements. Select the desired step from the process editor, then utilize the toggle option that appears, enabling or disabling the setting "Hide Unstarted and Unimportant Steps." This setting is toggled on by default.
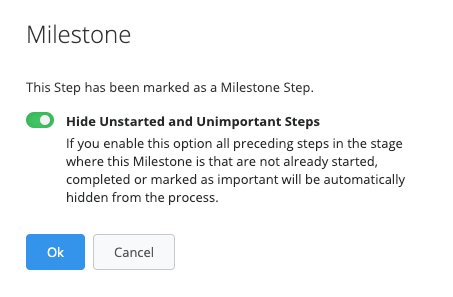
Milestones will be shown within the step, and completed milestones will alter their flag color from grey to green, marking progress. After completing a Milestone Step, steps that hadn't been started can be hidden depending on the setting set previously. This setting is toggled on by default.