Enhance your marketing and sales alignment by integrating Active Campaign with Membrain. This step-by-step guide ensures you can efficiently synchronize data between both platforms for optimized operations.
Note: Membrain needs a Company Name for each contact it syncs from Active Campaign to Membrain. Active Campaign calls Company Names "Accounts" which are available on their Plus, Professional, and Enterprise plans. If you do not have these plans, keep on reading to see how to sync your contacts to Membrain.
| Data Type | Membrain → Active Campaign |
Active Campaign → Membrain |
Notes / Limitations |
| Companies | Create new and sync existing When using the Contacts only sync mode, changes made to company names in ActiveCampaign will not be updated in MB. |
||
| Contacts | Create new and sync existing | ||
| Prospects | Partial | Only create new in Membrain. Process fields can only be pushed on Prospect creation. | |
| Sales Projects | Partial | Only create new in Membrain. Process fields can only be pushed on Sales Project creation. | |
| Account Growth Projects | Partial | Only create new in Membrain. Process fields can only be pushed on Account Growth Project creation. |
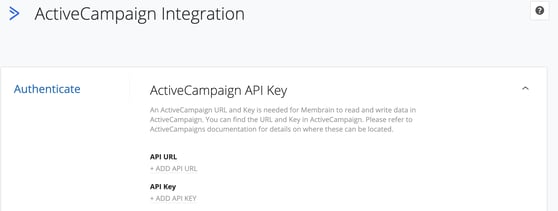
Setting up the integration is quick and easy, and with the step-by-step instructions below to help you get started, you'll be up and running in no time.
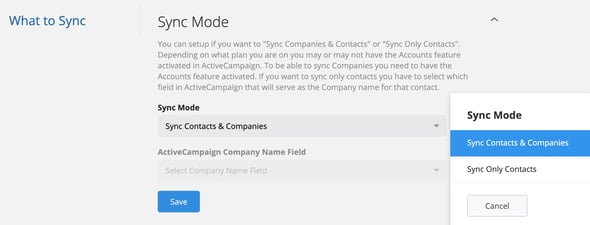
Choose to sync "Contacts and Companies" or "Only Contacts." If lacking the Accounts feature in Active Campaign, opt for "Only Contacts" and create a "Company" field in Active Campaign for mapping.
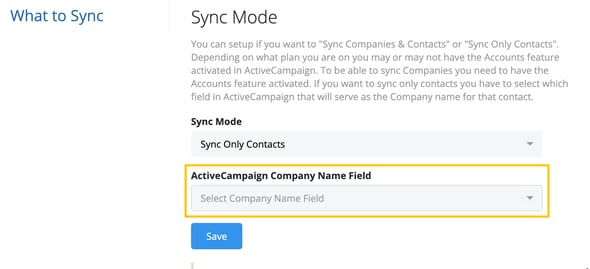
After creating the "Company" field in Active Campaign, select it in Membrain under the "Active Campaign Company Name Field."
Once that is done you can select lists that you want synced from Active Campaign to Membrain. Contacts added to your selected list in AC will create a Contact and Company in Membrain once they have been changed , then you can decide what you want to happen within Membrain based on the Action you select.
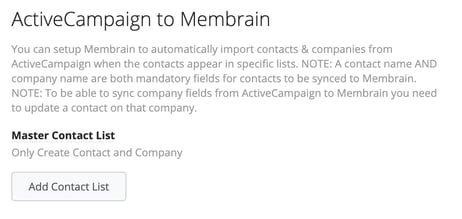
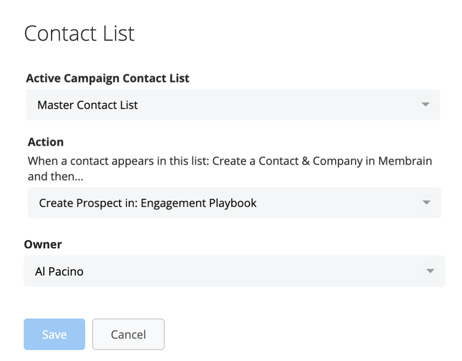
For the sync from Membrain to Active Campaign, you have the option to select multiple filters so you can send contacts based off of different criteria.
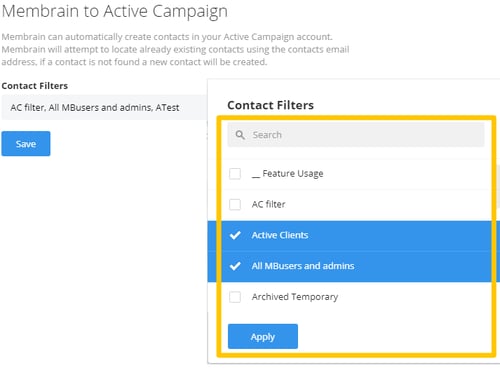
That section allows you to configure which contact and company information will be synced from Active Campaign into Membrain, or from Membrain to Active Campaign.
In addition to contact and company fields, project fields such as Owner, Process, Value, Key, and more can be mapped. You can also populate company fields when a new Sales Project, Prospect or Account Growth Project is created.
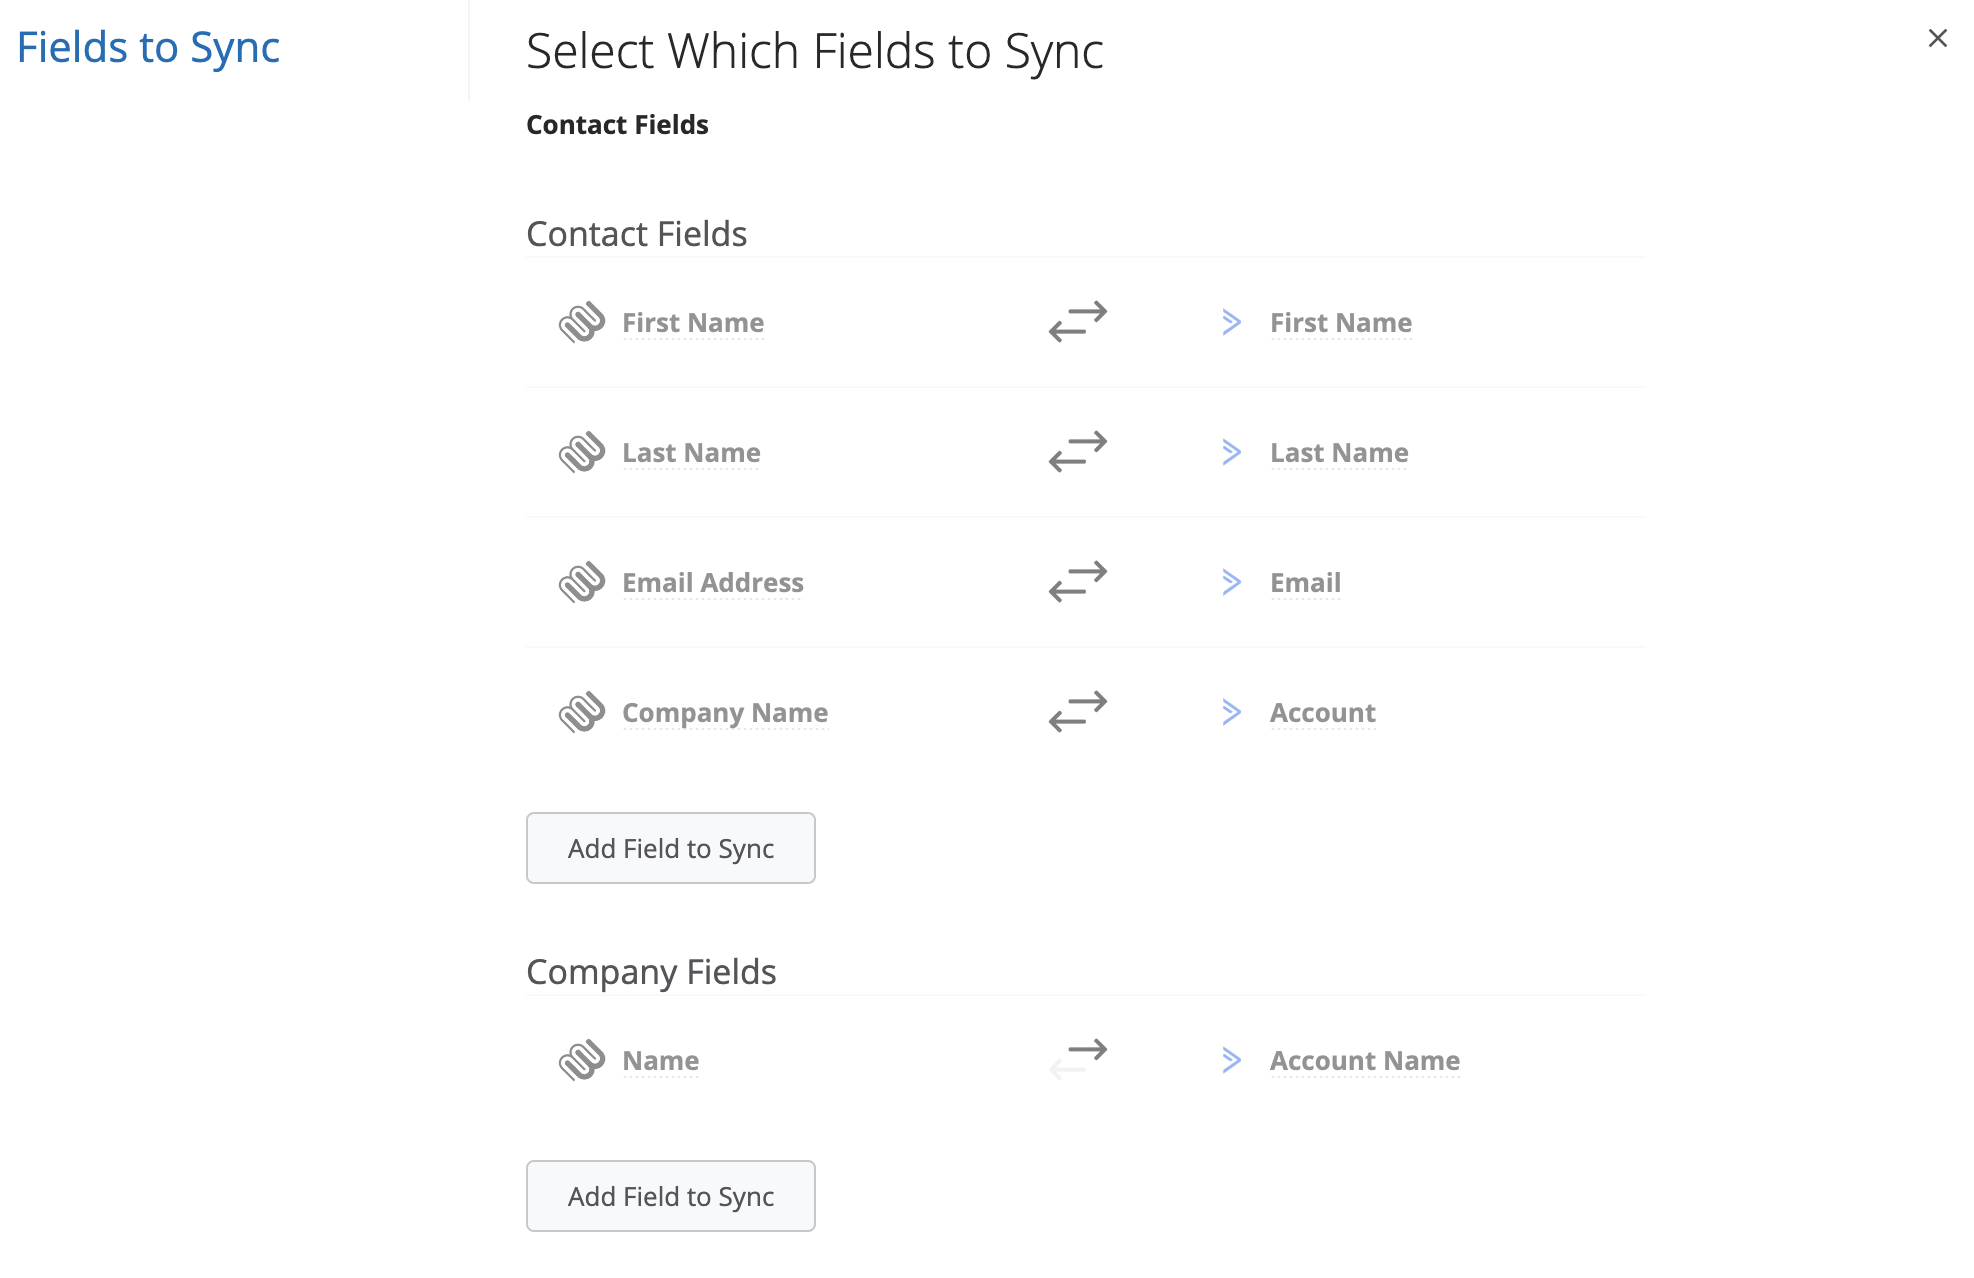
These fields are mandatory for the integration to work, and are synced by default:
A helpful area to check on the status of the sync and how each field sync is performing is the Status Area. From there, you can:
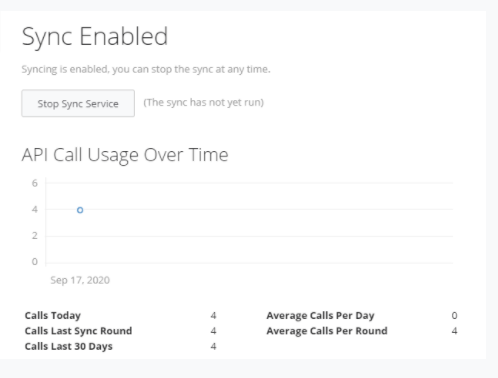
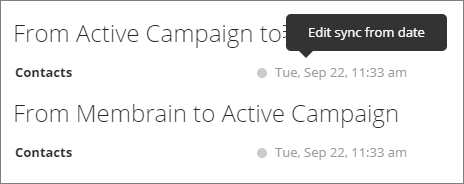
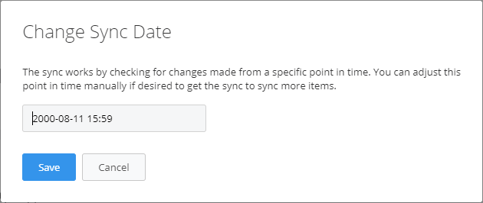
During the initial sync process, if the data that you want to be synced has not been modified recently, change the sync timestamps to an earlier date. To update the sync date:
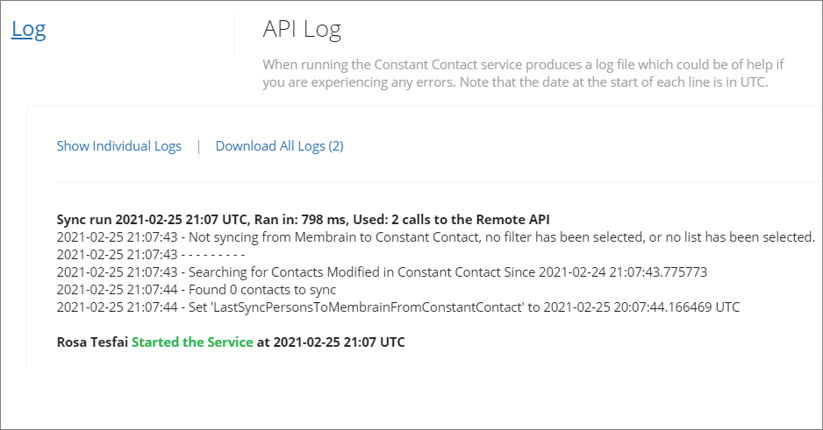
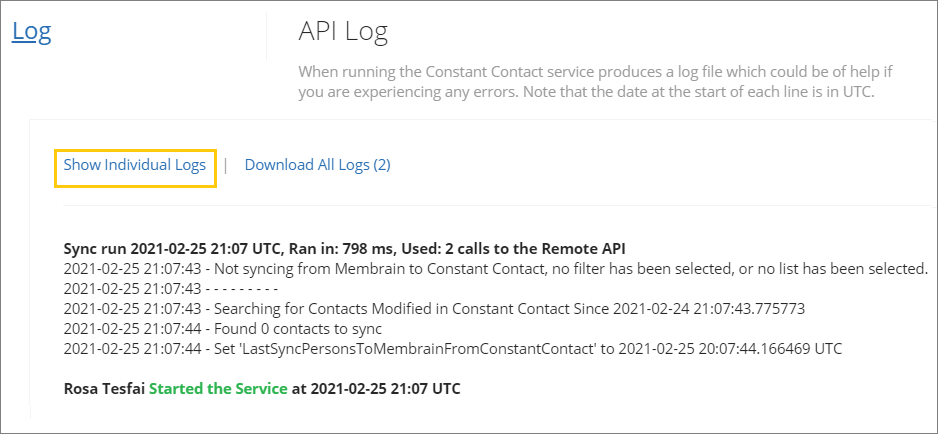
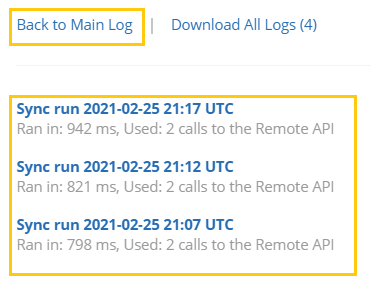
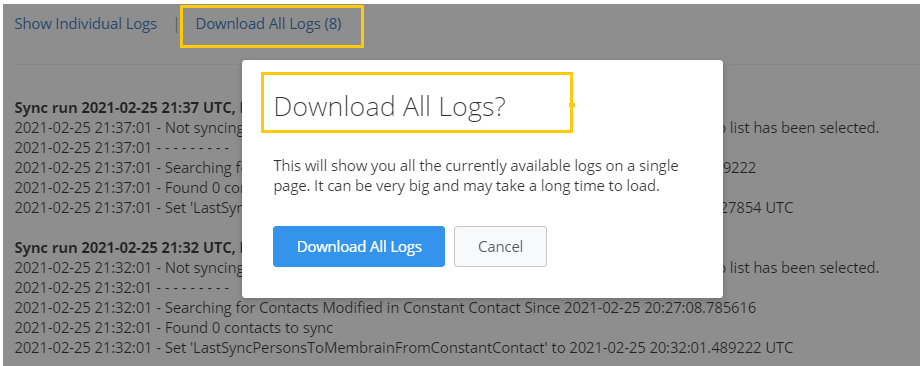
This log can be useful for those with a more technical background. The log lists every event related to the sync in date order and can be very useful for analyzing or troubleshooting the sync.
From north to south, east to west, Membrain has thousands of happy clients all over the world.


