A Task is a piece of work that needs to be done or undertaken. This can be a simple check of information or a larger assignment that is part of an overall project. Creating tasks adds these to your task list, much like a to-do list but with all the relevant information right there at your fingertips.
You find the Task Manager in the Task icon from the Main Menu to the left.

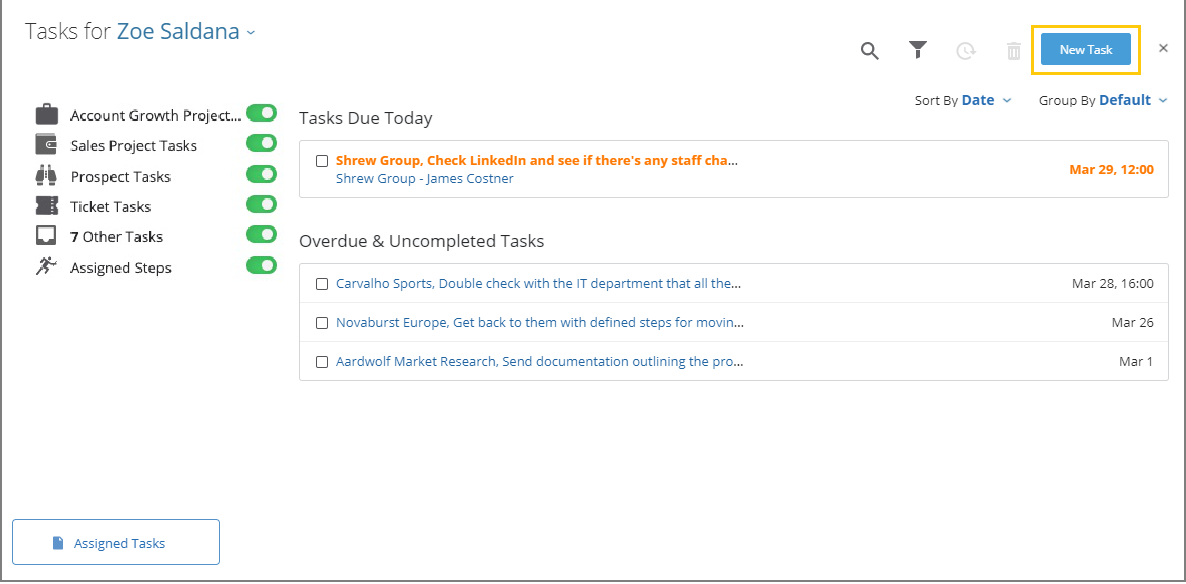
From the Task icon on the main menu, you can manage your own tasks list and see tasks that you have been assigned to, as well as tasks that you have assigned to colleagues. There are also filtering and grouping options available from this tasks view, making task management even easier.


You can create a task directly from this task list, either by clicking on the New Task button from the main menu at the left or once in the tasks list, click on the New Task button, top right.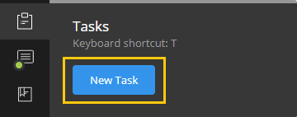
Tasks can also be created from other areas of Membrain, outside of the context of a Sales Project or Prospect. For example, from the Company or Contact view, more menu. However, you must remember to relate the task to the correct Sales Project or Prospect to ensure that it is logged correctly for tracking and reporting reasons.
In the weekly view of your calendar, you can see a shortlisting of tasks for each day.
Hover over the day you want to create the task for and click Create Task on the button that appears next to the date.
Once a task is created in a Sales Project, Prospect, or Account Growth Project you can effectively add additional tasks by clicking the + Create Task button that appears in the Pending Tasks section of the project. The Tasks created by this function are assigned to the User that creates them and will not be set with a deadline. Directly from your list of Pending Tasks, you can easily add or change the deadline, assign the tasks to the right persons and make comments by clicking on the different Icons.

An example of when this function could come really in handy would be if you are setting up an action plan on your project for the upcoming quarters and don't have all the specific details on the spot, then you can productively create all your planned tasks in one after another and add the details afterward, such as the owner and the deadline.
After the creation of an appointment, call, or note, you may find the need to establish follow-up tasks. This can be accomplished with ease, ensuring that every necessary action stemming from these activities is captured and assigned efficiently. Once an activity is created, you can immediately create a task related to this activity. This helps in setting up follow-up actions or reminders.


The ability to add tasks in this manner is designed to fit naturally into the workflow of sales professionals. It eliminates the need to switch contexts or navigate away from the activity just concluded, thereby saving time and maintaining focus.
Location for Task Creation: Look for the 'Add Task' option within the context menu of the concluded activity. This option is readily accessible and intuitive to use.
Completing Tasks: Completing these tasks is just as straightforward. Once a task is completed, it can be marked as such directly from the activity interface where it was created, streamlining the entire process.
Membrain can be set to send you reminders about your upcoming Important Tasks, in the form of alerts in Membrain Guide, or as an email, with lots of options for when you would like to receive them.
There are two ways to set up reminders:

As the Organizer of a Task, you're empowered to manage its privacy settings to ensure only the right people have visibility.


You might have planned activities and thus scheduled tasks in Membrain to remind you of that, but we know that not all days are the same, unexpected matters or topics of higher importance might arise. This is why re-prioritizing, rescheduling or even re-assigning your tasks to someone else could be helpful to free valuable time for what's most important in a given time.
You can easily reschedule a Task by right-clicking on it and selecting “Reschedule”. Choose among the available options, moving it e.g., by 1 hour, to the next day, next week or even customize it to your liking.

And, if you have lots of tasks you'd like to reschedule in bulk, just hold down the Ctrl key, click on the tasks you want to select and click on the “Reschedule” ![]() button at the top of the Task list.
button at the top of the Task list.
Then select the new date to which you'd like to move them, and you're done!

Click on the task of your choice to open it and change the organizer. If you're the Organizer, you also have the ability to toggle the task's privacy setting. Upon reassignment, the task will appear in the newly assigned person's task list, respecting its original privacy setting.

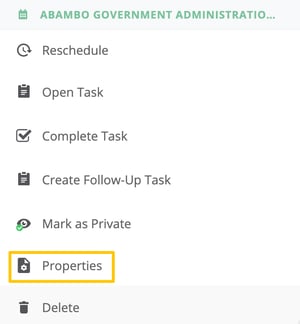
Access the Properties of any Task by selecting the "Properties" option, available from the More menu ("...") or the context menu (right-click on an activity in the Activities list view or inside the calendar). This action opens a dialog displaying essential details such as who created and last changed the activity, along with their respective dates. Additionally, you can view or add an External Identifier for the activity. To edit the External Identifier, simply click on it or the "+ ADD" text if none is currently assigned.