Conversations with prospects and customers are a vital part of communication within sales. And ensuring these are recorded correctly in Membrain is important, both for an individual's workflow and also for colleagues and sales managers.
There are 2 distinct ways to use Membrain's Call functionality.
Both of these actions can be done when creating a Call Activity, allowing for the tracking of Activity across the team.
If you have an IP telephony software (such as Skype or Aircall) installed on your computer, you can make calls through Membrain by clicking on any phone number saved to a Company or Contact. If multiple phone numbers exist for a contact, you can click on the arrow next to the phone number to choose which one to call before opening the call dialog.

After selecting the contact to call, a dialogue box appears where you can click to make the call and add notes about the conversation.
If a contact has more than one phone number, an arrow appears next to the number allowing you to choose which number to use. Once the call dialog opens, you can still switch between available numbers using the same selector before placing the call.

There's no need for an integration or complex setup in order to make a call from Membrain. All that's needed is for your computer or browser to recognize a phone:// or callto:// link and trigger your preferred phone software to make the call.
Often, the first time you click the Call button to make a call, your browser will ask you which application you would like to use to make the call. This will then be the default software used going forward.
If your call button opens the wrong application or your phone system does not handle calls as expected, you can adjust how Membrain formats the call link.
This is done using the Shared IP Call Settings, where an admin can define the URL pattern used when initiating a call.
To access this setting, go to System Setup and navigate to Productivity and Collaboration. Then select Shared IP Call Settings.

In this field, you can define the format used when passing the phone number to your calling software. Common formats include:
The correct format depends on the requirements of your phone system or browser configuration. Some systems may not support formats that include additional characters, so adjusting this value can resolve issues where calls fail to connect.
This setting applies to all users in your environment.
If you are unsure which format to use, your IT team or phone system provider can help confirm the correct configuration.
You don't have to make calls via Membrain. If you use a landline or cellphone, you can simply add the notes about the conversation during or after the call. To save the details about a phone conversation you've just had, simply add the details in the notes box.


Additional information about the outcome of a phone call can be added after it has happened to help salespeople log notes and track the next steps. Learn more about Activity Custom Fields.
Sales Enablement or Sales Collateral from The Content Hub is visible from the right-hand side of the phone call dialog box during creation, to guide salespeople as they work.
Example: Search for coaching material and open it to the side wo guide you while on the call.

If the field Time Zone is set on the Contact, you will see their Local Time in the Call dialog.
The Time Zone on a Contact can be set up in different places in Membrain. You can for instance set it up on the Contact Page or create a List View in the CRM Contact Database.
Contact Page:

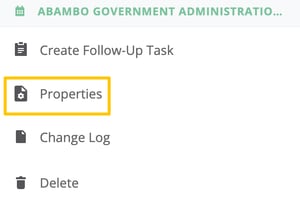
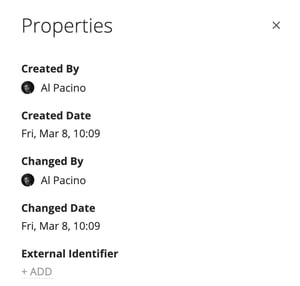
Access the Properties of any activity by selecting the "Properties" option, available from the More menu ("...") on the top-right of the activity dialog or the context menu (right-click on an activity in the Activities list view or inside the calendar). This action opens a dialog displaying essential details such as who created and last changed the activity, along with their respective dates. Additionally, you can view or add an External Identifier for the activity. To edit the External Identifier, simply click on it or the "+ ADD" text if none is currently assigned.