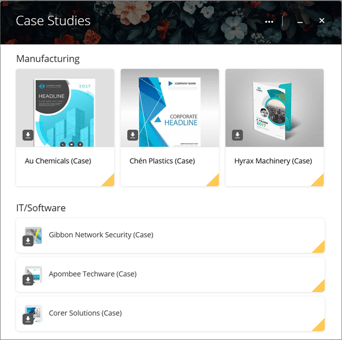
Content Rooms in Membrain are designed to enhance collaboration by providing a dedicated space for organizing and sharing relevant materials. These rooms can be used to collect various content hub items, facilitating streamlined access and efficient distribution of information.
Creating a Content Room
- Access the Content Hub: Navigate to the Content Hub by clicking the
 icon in the bottom left above your profile picture, or by pressing H on your keyboard.
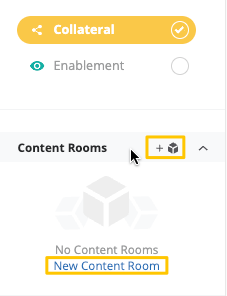
- Create your Content Room: Under Collateral and Enablement, choose "New Content Room" if none are present or click the plus sign next to the Content Rooms text.
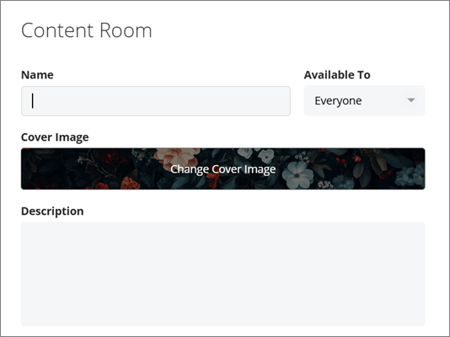
- Design and Accessibility: Choose a name and add a cover image to your content room. There are default images you can select from, or you can upload your own. From there, change the "Available To" settings to select which users will have access to this content room. Add a description as well to explain shortly what your content room is about.
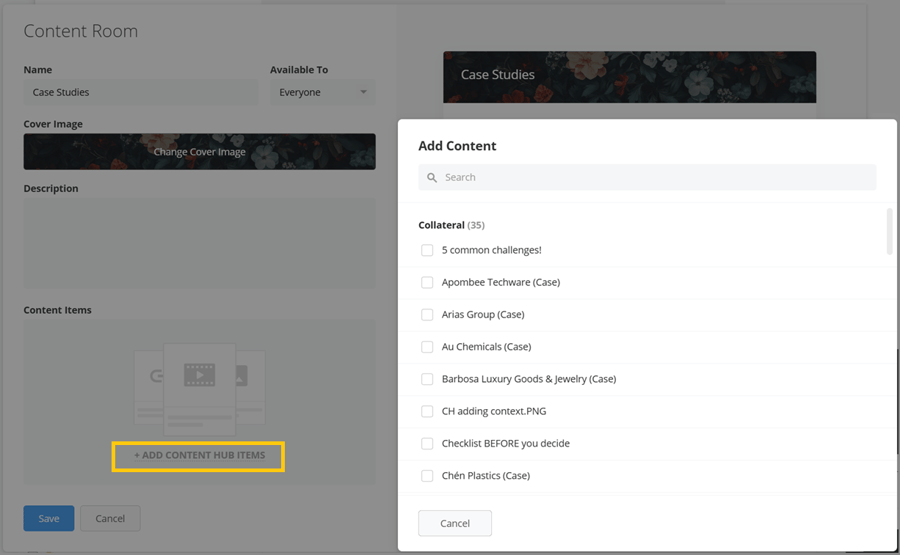
- Add Content: Use the multi-select feature to choose items from the Content Hub that you'd like to have in this room. Keep in mind, the first 6 pieces of content are highlighted while the rest are in a list.
Note: The max amount of content that can be added in a content room is 100.
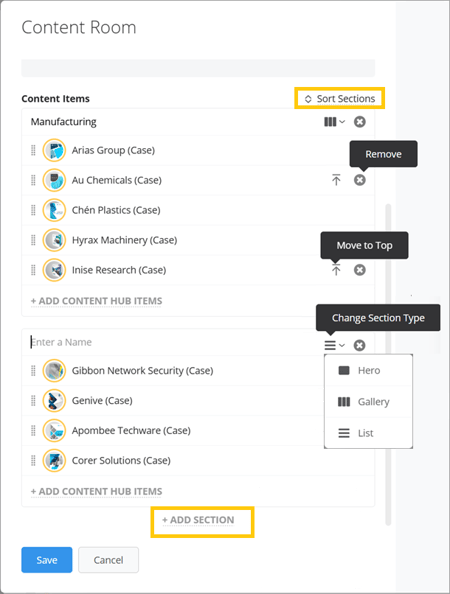
- Organize Content: Organize your content room by creating sections, naming them and sorting them in the order of your liking. You can reorder content Hub items within the sections by dragging/dropping them. The "Move to Top" and "Remove" buttons come handy as well for quick actions.
One more feature available, is the section type with options to choose: Hero, Gallery and List.
Hero Type Gallery and List Type

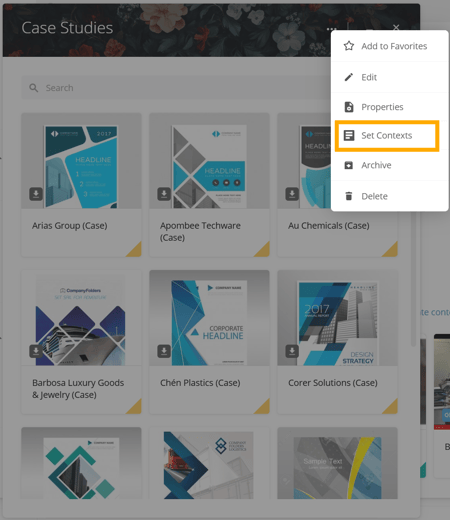
- Set Context: Open the content room and click on the three dots icon
 to set contexts. Setting contexts to this room will allow Membrain to recommend this room to you in different places when it is most relevant. Learn more about context setting in our getting started with the Content Hub article.
- When you're done with all configurations, press Save.
Editing a Content Room
- Access the Content Room: Locate the content room you wish to edit from the Content Hub and click on it.
- Use the Edit Dialog: Click on the three dots icon to open the edit dialog. Here, you can rename the content room, change the cover image, add or remove Content Hub items, and adjust access permissions.
- Save Changes: After making the necessary adjustments, click “Save” to apply the changes.
Examples of Using Content Rooms in Membrain
Staff Training Programs
Content Rooms are an excellent tool for organizing training materials. For instance, consider a scenario where your organization is launching a new staff training program. You can create a Content Room named "Employee Onboarding" to group all relevant materials, such as training videos, guides, and assessment forms. By setting the room’s availability to your HR team and new hires, you ensure that everyone has streamlined access to the required resources. As a result, the onboarding process becomes more efficient, and new employees can access all necessary materials in one place.
Sales Enablement
Imagine your sales team is preparing for an upcoming product launch. You can create a Content Room titled "Product Launch Toolkit" to gather all collateral, including product sheets, FAQs, and presentation decks. By setting this room to be accessible to the sales department, team members can quickly find and utilize the latest sales enablement materials. Additionally, by setting contexts, Membrain can recommend this room to sales representatives during their client interactions, ensuring they have the most relevant information at their fingertips.
Customer Education
Content Rooms can also be beneficial for customer-facing purposes. Suppose your company provides software solutions and wants to educate customers about new features. You could create a room called "Feature Highlights" that includes tutorials, user manuals, and demonstration videos. By making this room accessible to all customers, you can enhance customer engagement and reduce support queries by empowering users with comprehensive, self-service learning resources.


