Here at Membrain we take pride in being recognized as one of the premier sales tools in the world. Membrain's integration with Zendesk represents a tying together of the best-of-breed solutions for Membrain's complex sales platform and Zendesk's Customer Support ticketing system.
The Membrain-Zendesk integration allows a two-way sync of company and contact information from Membrain to Zendesk, and ticket information from Zendesk to Membrain.
Support ticket information is shown in Membrain as Activities, giving sales people the insight into support issues your clients may be experiencing and allowing for a closer and smoother relationship between sales and support.
| Data Type | Membrain → Zendesk |
Zendesk → Membrain |
Notes / Limitations |
| Companies | Create new and sync existing | ||
| Contacts | Create new and sync existing | ||
| Tickets | ❌ |
Create new |
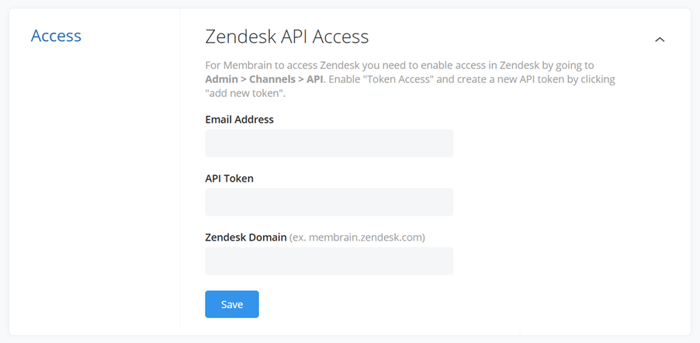
Setting up the integration is quick and easy, and with the step-by-step instructions below to help you get started, you'll be up and running in no time.
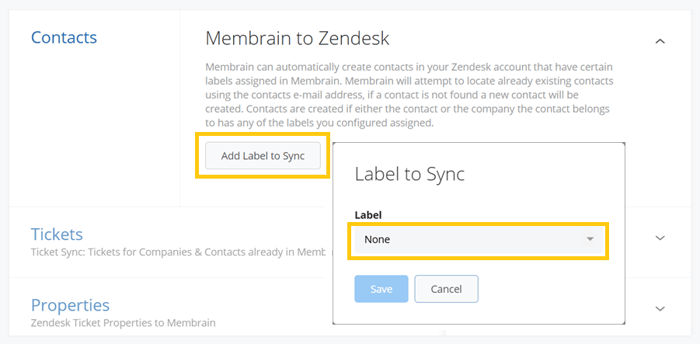
The integration allows you to sync contacts in Zendesk by using contact and company labels in Membrain. To create a contact in Zendesk you can use labels such as “client”, “partner” or similar in Membrain to automatically be aware of who is asking for help and help gather statistics in Zendesk using the company/organization data you already have in place in Membrain.
Membrain will attempt to locate already existing contacts using the contacts e-mail address, if a contact is not found a new contact will be created. Contacts are created if either the contact or the company the contact belongs to has any of the labels you configured assigned.
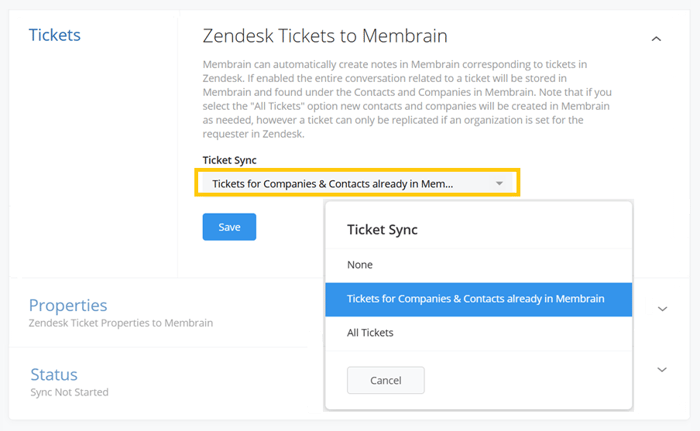
Membrain can automatically create notes in Membrain corresponding to tickets in Zendesk.
When enabled the entire conversation related to a ticket will be stored in Membrain and found under the Contacts and Companies in Membrain.
Map Zendesk Ticket Properties to sync to Membrain
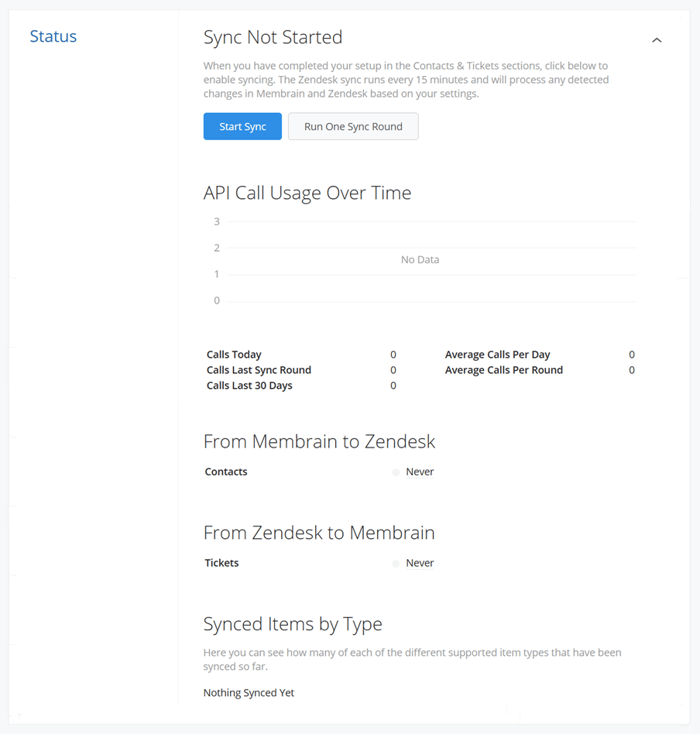
That is a helpful area to check on the status of the sync and how each field sync is performing in the Status Area.
See when the sync ran last. By default, the sync runs every 3 minutes.
Initially, you may "Run One Sync Round" to test the integration, then click on "Start Sync Service" to sync fully.
Stop the sync at any time, and restart when ready.
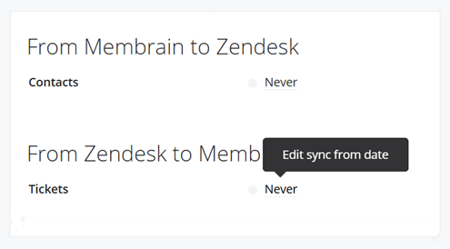
During the initial sync process, if the data set to be synced has not been modified recently, change the sync timestamps to an earlier date. To update the sync date:

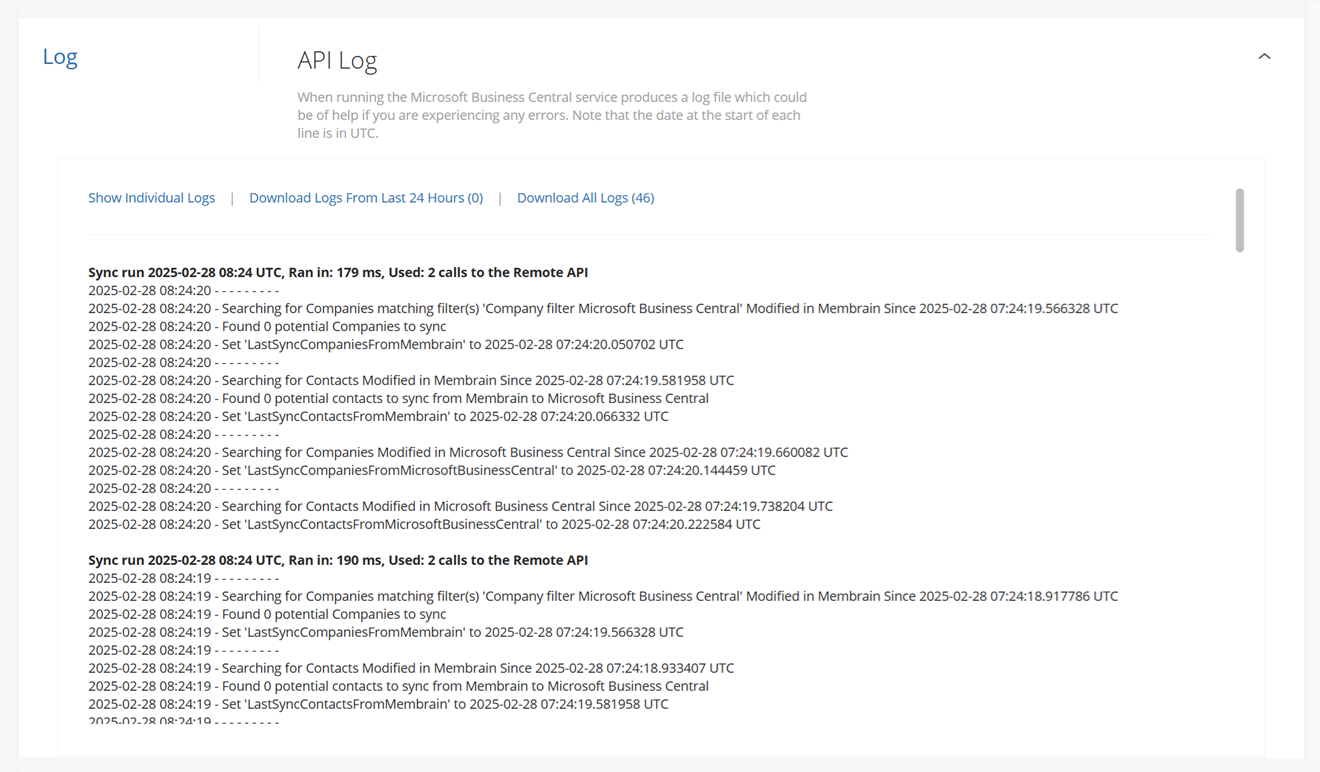
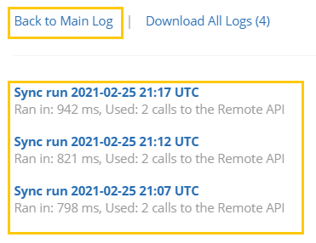
This log can be useful for those with a more technical background. The log lists every event related to the sync in date order and can be very useful for analyzing or troubleshooting the sync.


 If you need any guidance regarding this integration, please contact us at support@membrain.com


