Popular Content
Membrain for:
Get started with setting up the integration between Membrain and Oneflow to enable this powerful tool that will help enable your team in their Sales efforts! Follow this guide and you'll be up and running in no time.
If the Integration is already set up, and you want to learn how to use the tool, please see the article Working with the Oneflow Integration.
| Data Type | Membrain → Oneflow |
Oneflow → Membrain |
Notes / Limitations |
| Companies | Partial | Information can only be pushed on Agreement creation. | |
| Contacts | Partial | Information can only be pushed on Agreement creation. | |
| Prospects | Partial | Partial | Information can only be pushed on Agreement creation. You can see updates to the Oneflow Agreement Status in Membrain. |
| Sales Projects | Partial | Partial | Information can only be pushed on Agreement creation. You can see updates to the Oneflow Agreement Status in Membrain. |
| Account Growth Projects | Partial | Partial | Information can only be pushed on Agreement creation. You can see updates to the Oneflow Agreement Status in Membrain. |
| Sales Project Products | Partial | Information can only be pushed on Agreement creation. |
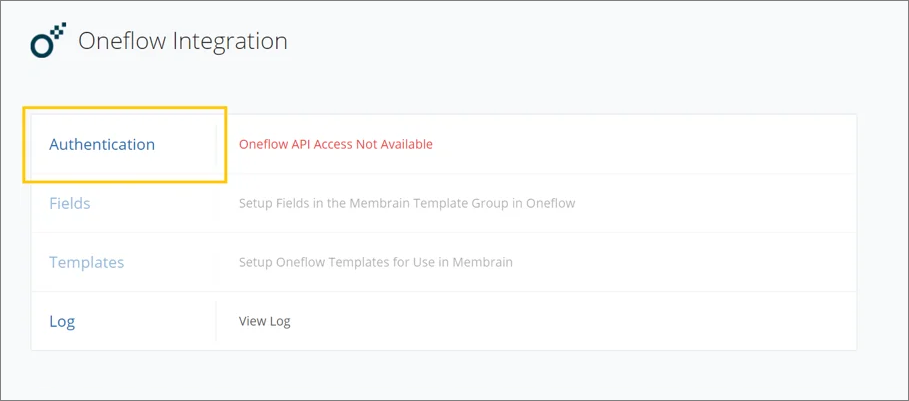
The integration is configured by a Membrain Administrator and can be broken down into four main parts outlined below:
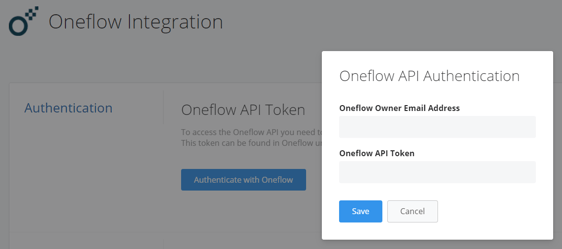
The first part, i.e the activation of the integration in Oneflow is to be done through the following steps.

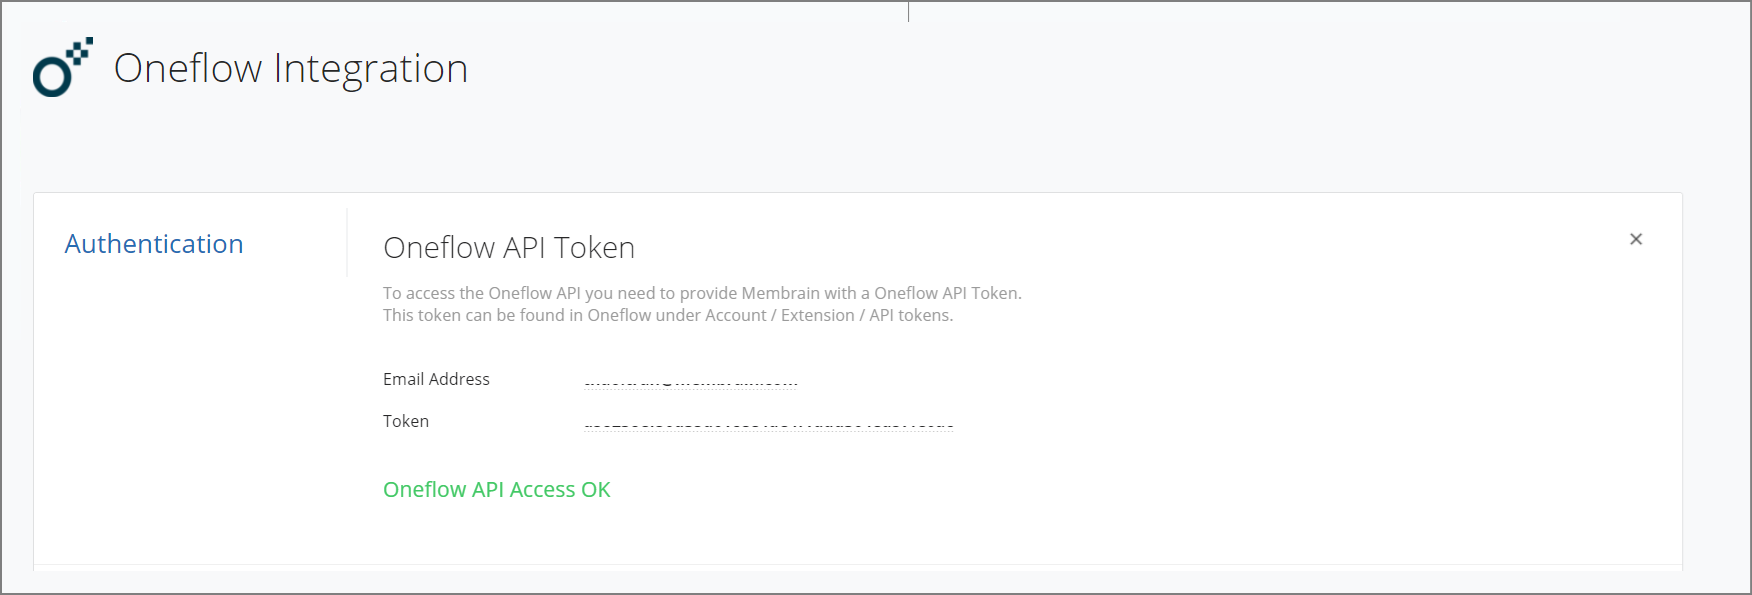
When the integration is successfully activated, you can continue with creating fields, adding templates, and implementing Oneflow into your Processes.
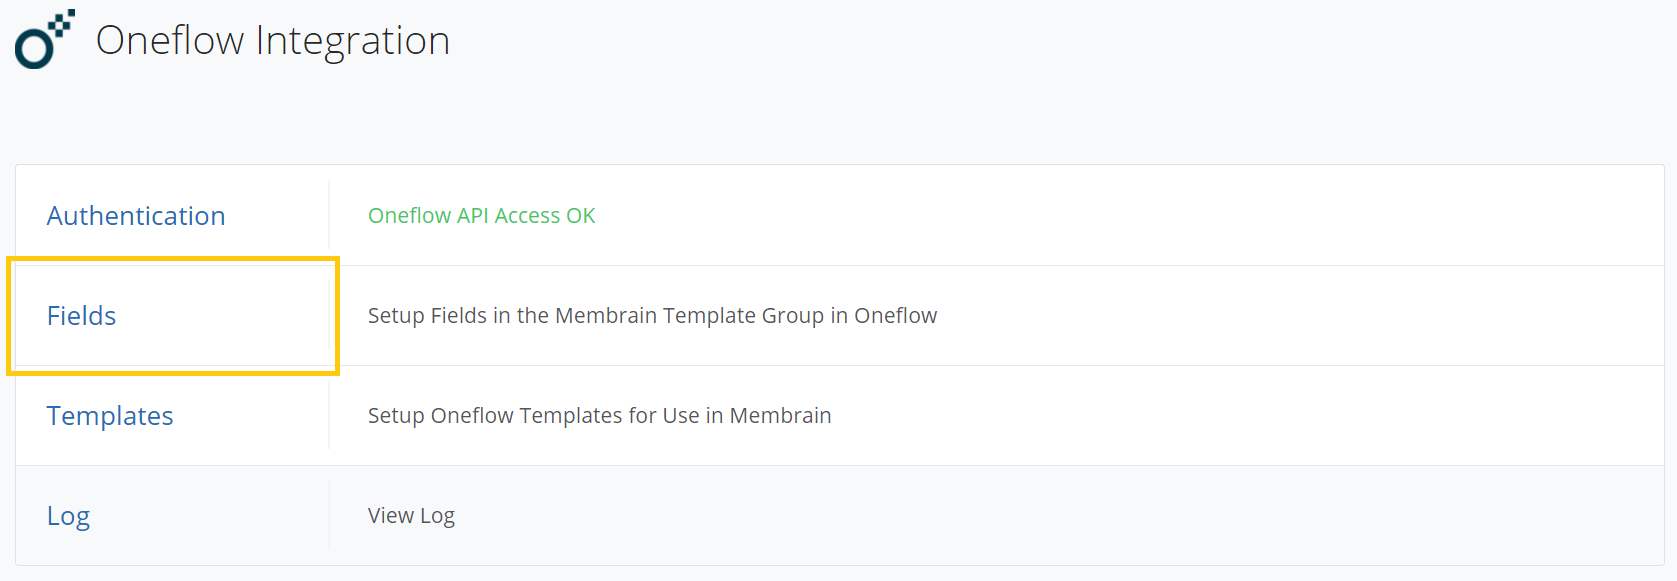
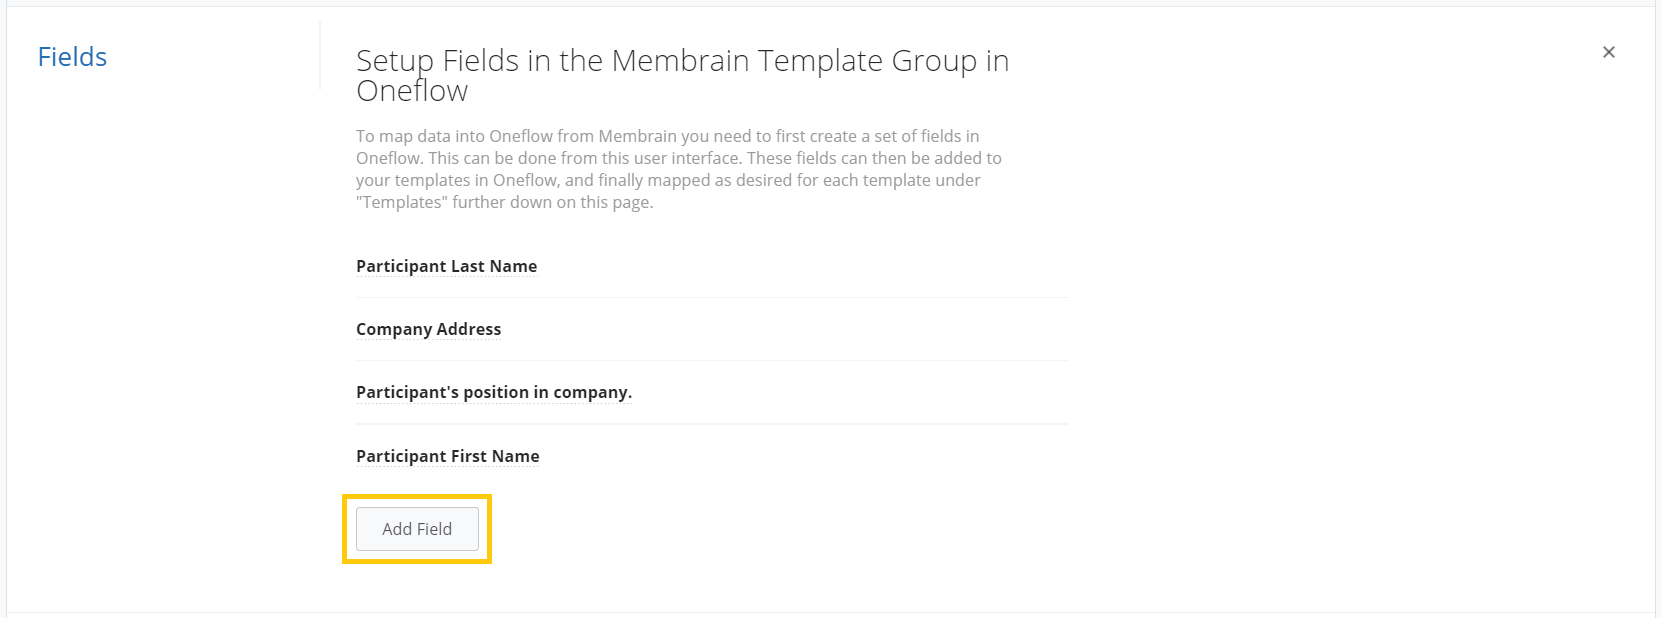
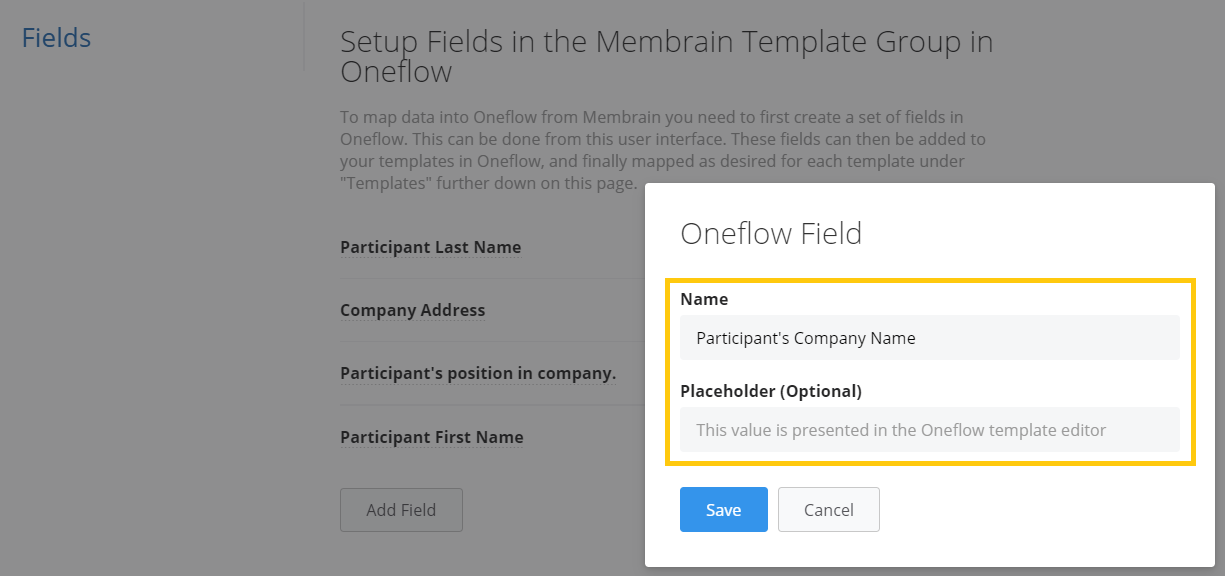
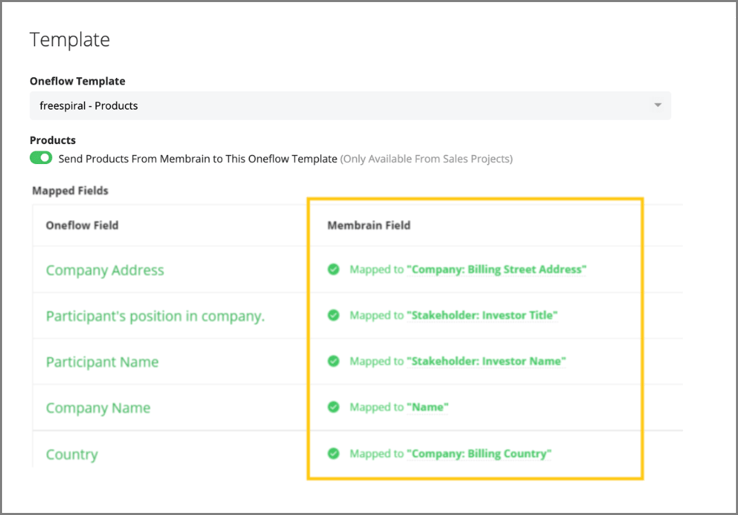
To map data into Oneflow from Membrain you need to first create a set of fields in Oneflow. This can be done from this user interface. These fields can then be added to your templates in Oneflow, and finally mapped as desired for each template in Part III further down in this article.
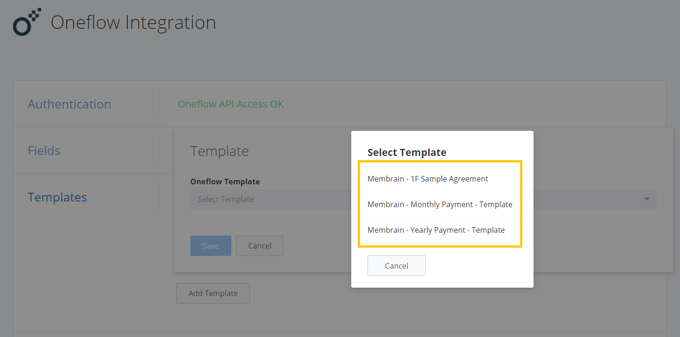
For adding contract templates you'll need to follow these three steps.
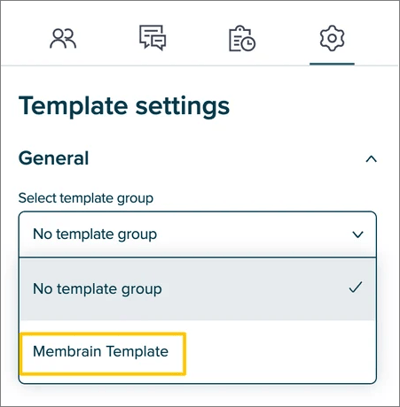
All the templates set to Membrain Template as the Template group in Oneflow can now be added to the list of templates in Membrain. The templates you wish to use need to be added one at a time.
As part of setting up the Oneflow integration, administrators should ensure that contract templates in Oneflow are properly configured to include product data. This involves setting up a product table and product summation within the template and enabling the "Send Products Data" toggle in Membrain's Oneflow Integration settings.

This setup ensures the seamless transfer of product information from Membrain to Oneflow agreements.

When a template is saved and successfully added, you can continue to add more Contract templates to the integration by repeating the steps in this guide.
If you are new to Membrain or need assistance in creating the process before adding the tool for creating agreements in Oneflow, please go to this article first.
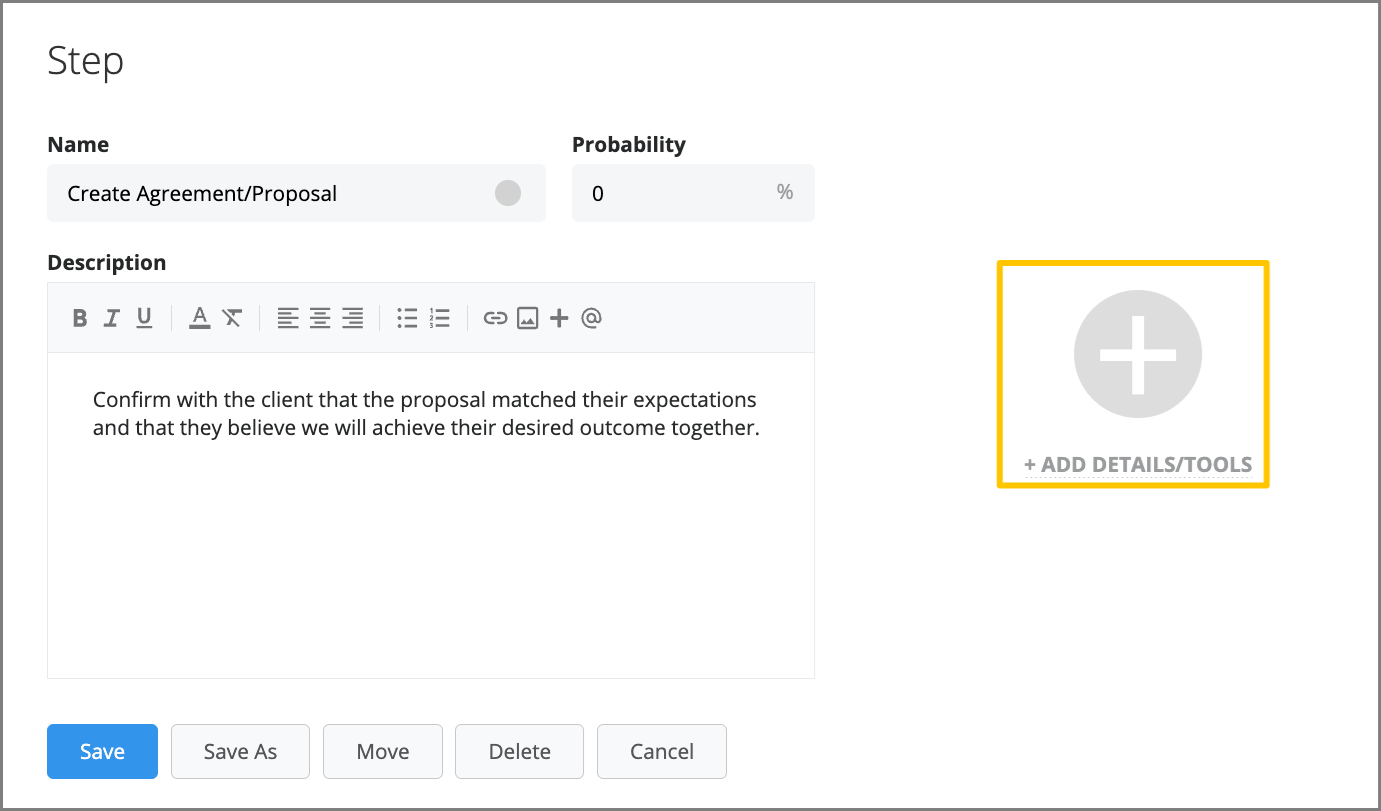
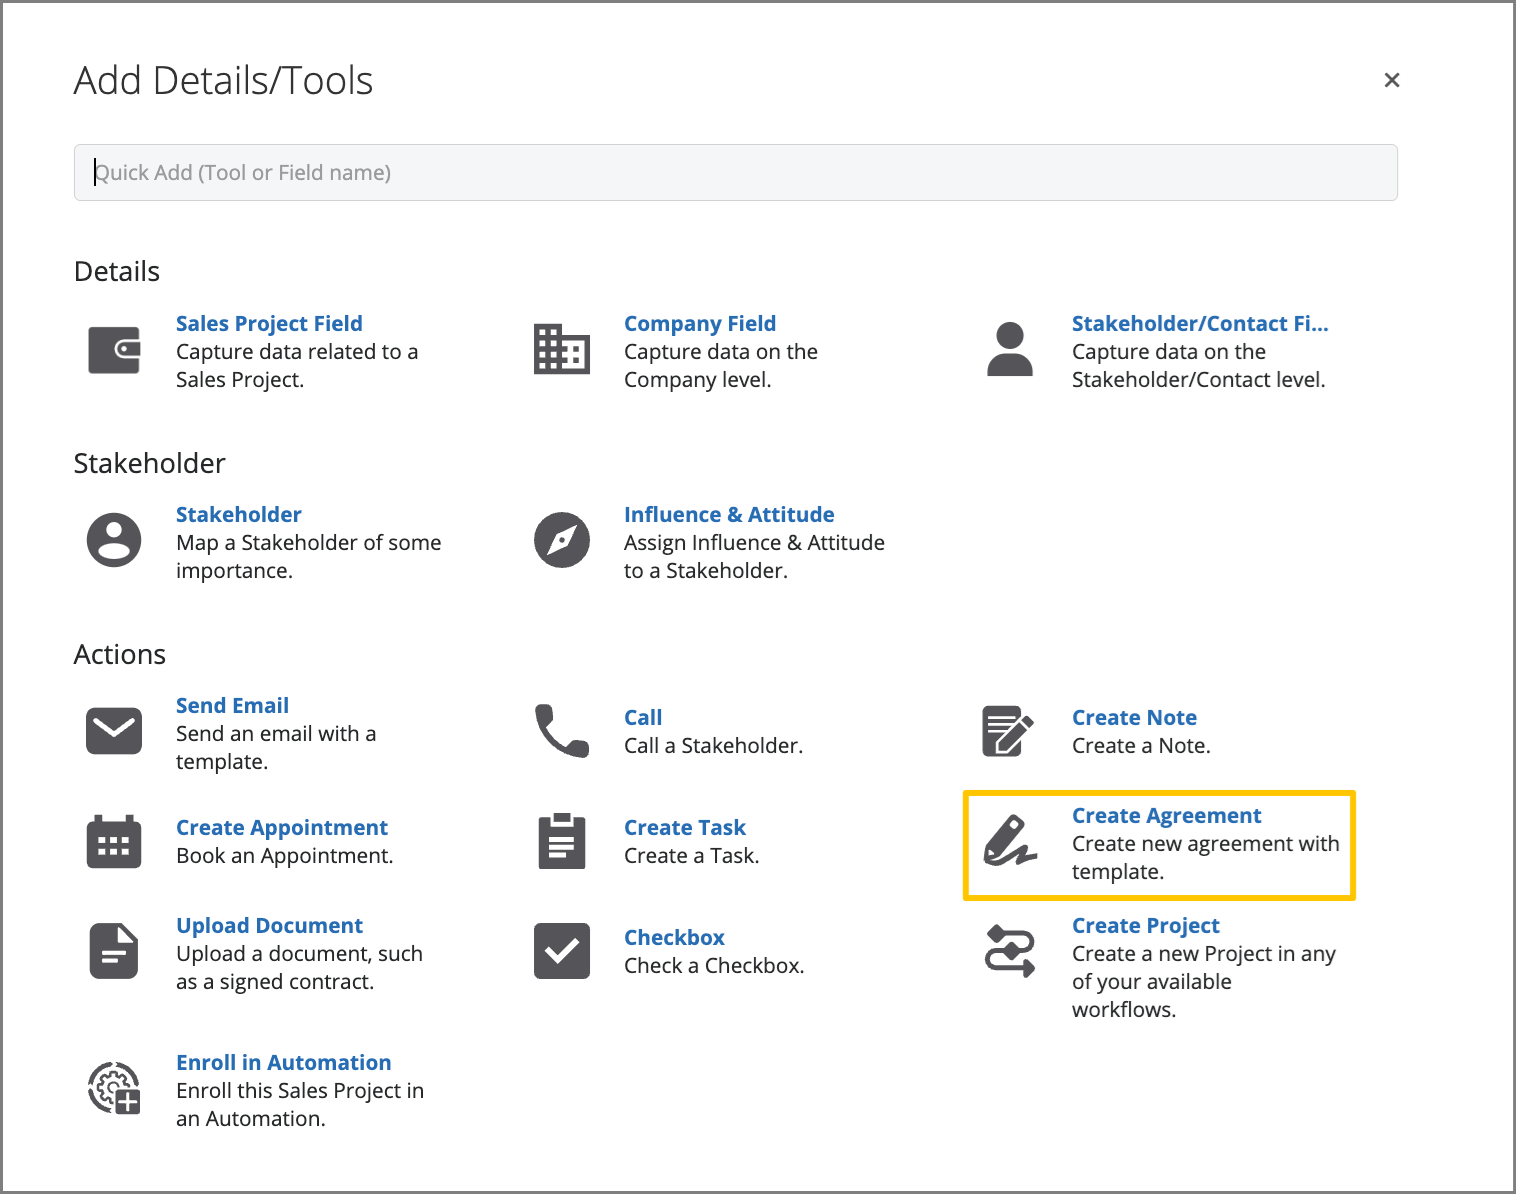
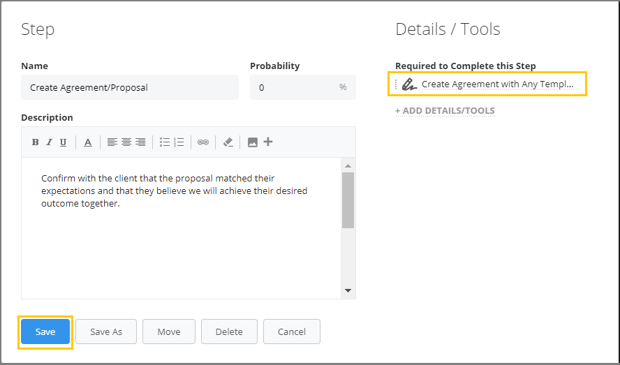
When the activation and technical preparation of the integration is completed, it is time to implement this tool to a Process in Membrain.
In the guide below, the tool is added to a Sales Process. However, it can also be applied to Prospecting Processes and Account Growth Processes.
To simplify agreement creation and reduce manual role assignment, you can assign a default signatory in your Oneflow integration settings. This optional step allows you to select a Membrain user who will be automatically listed first when creating an agreement and pre-filled as Signatory 1.
To configure this:
Expand the Default Signatory section
Select a user from the dropdown
Click Save
When creating agreements, the selected user will appear at the top of the participant list with a Default Signatory label and the Signatory 1 role applied. This assignment can be changed before sending the agreement if needed. If no changes are made, the selected user will be submitted as the designated signatory in Oneflow.

With this configuration in place, your Oneflow integration is ready for consistent and efficient agreement workflows!
Learn how to use the tool in the article Working with the Oneflow Integration.


