Simply put, a contact is a person that you know of. You might already have a relationship with them, or they might be someone that you want to connect with in the future.
All Contact information is stored in the CRM area of Membrain. This is found in the main menu.
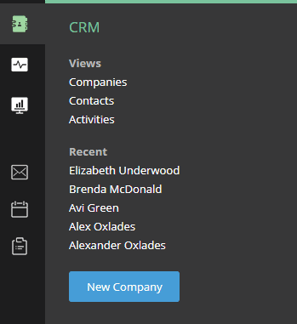
The quickest way to find a contact you are looking for is to use the search feature in Membrain. Just go to the search icon in the main menu (or hits on your keyboard) and start typing! You will see a list appear, including Companies, Contacts, Sales Project and Prospects. You can either choose from this list or hit enter to see a full list where you can see more options and select the contact you are looking for.
At the top of the Contact View, a number of fields are visible:

Contacts in Membrain can store multiple phone numbers. A contact can have one primary phone number and up to five additional numbers.
Phone numbers can include Phone Tags such as Mobile, Direct, or Office to help identify the most relevant number. The first number in the list is treated as the primary number and is used by default in areas such as calling dialogs.
Phone Tags are created and managed by administrators in System Setup > Phone Tags.
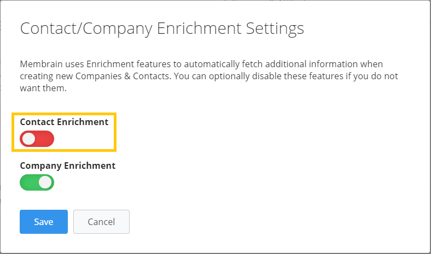
Details about the Contact can be updated automatically by using the Enrich ![]() icon, found just to the right of the contact name. The Enrichment tool can be found on the contact pages in Membrain and also when hovering on a Contact to see the preview dialog.
icon, found just to the right of the contact name. The Enrichment tool can be found on the contact pages in Membrain and also when hovering on a Contact to see the preview dialog.

Clicking here retrieves and offers company and contact updates, which you can choose to accept to keep your CRM database up to date with current information.
Fields that can be updated by using the Enrich service are:
As a Membrain Administrator, you can disable the Enrichment tool under the general section in System Setup.
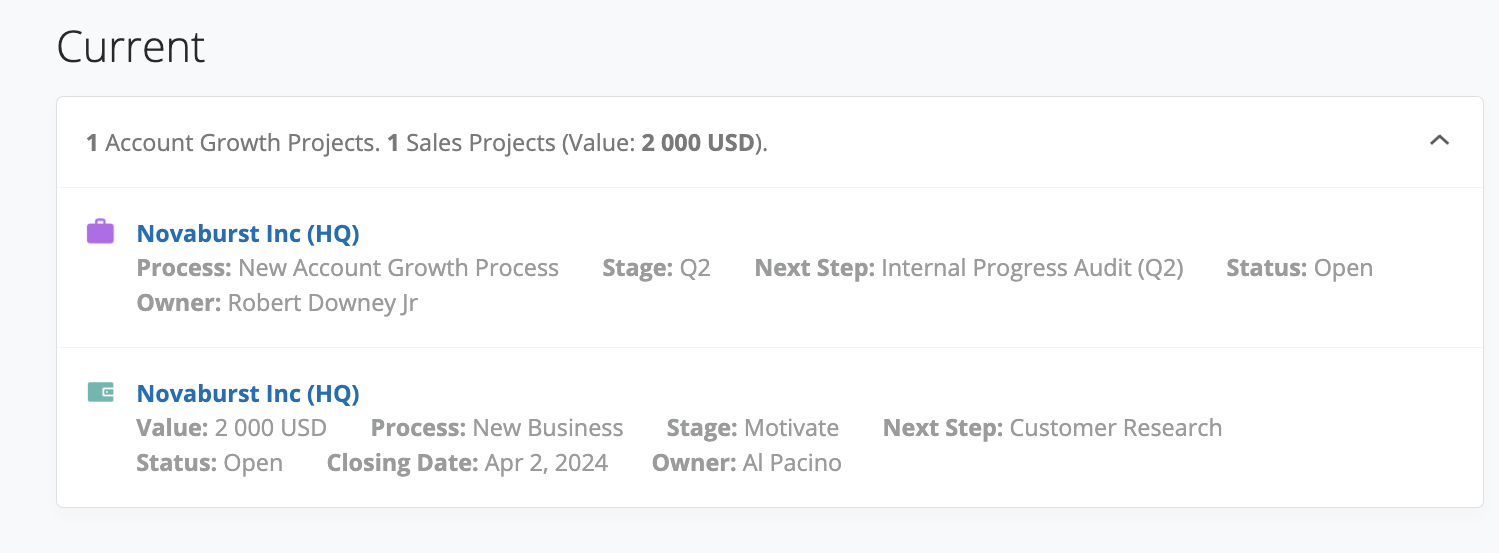
Under this heading, you see all current Sales Projects or Prospecting Campaigns this contact is linked to. If the contact is linked to a prospecting campaign, an overview will be shown beside the binoculars icon. The same applies for a Sales Project, if they are involved in a Sales Project, details of this project will be shown beside a green leather wallet.
Here you see all the historical Sales Projects and Prospecting Campaigns this contact has been linked to in the past., including date stamp of when they were added.

You also see additional information here, such as if a Sales Project was won or archived, or if the Prospect was disqualified or converted to a Sales Project.
This is where you find more detailed information about the Contact itself. Information is stored in Custom Fields, which are created by your administrator during the initial setup of Membrain.
Examples of information that can be stored here are things like skill set, Skype ID, or perhaps a birthday. Anything that you believe is important to record about a Contact should be stored here. And information can be in the form of single or multiple select lists, text or numerical fields.
If you would like to view the contact page without the “Information” section, you can do so by selecting the arrow on the right-hand side. This will hide everything under “Information”.
To optimize the relevance of information displayed on contact pages, Membrain supports the use of Custom Field Groups in contacts. These groups can be set up with specific conditions to ensure they are visible only to the appropriate users, based on factors like labels, country, or user roles. This feature helps in maintaining an organized and context-sensitive interface.
For more detailed guidance on setting up and managing these Custom Field Groups, including how to add conditions for visibility on company and contact pages, please see our detailed section in this article.
At the bottom of the Contact View, you find the Activity Stream. This is a great resource to see all the activity, past and future in chronological order. Every appointment, email, task, note… pretty much anything that ever happens with this Contact is recorded here. And all filterable of course to help you easily find the information you need.
You can also comment on these activities to keep all discussions right there in context, and even mention your colleagues to get their immediate attention on specific items.
To the right of the Contact Page, you will see a list of Labels that have been applied to this Contact. You can edit the labels assigned to this Contact by clicking on the edit button and choosing which labels apply from the list.
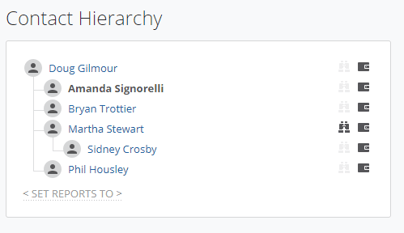
Below labels, you will see the Contact Hierarchy. This shows you who the contact reports to within their organization. Information added here is found in a clear visual form in the Organizational Chart.
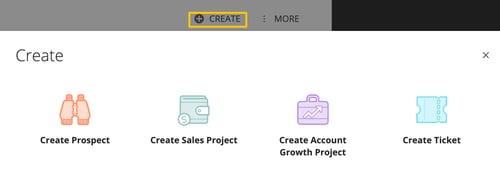
Create a Prospect, Sales Project, Account Growth Project, and/or Ticket right from the contact you're on.