A Sales Process in Membrain is the template Project Plan the salespeople in an organization use to follow recommended steps, record information, and track progress in a Sales Project or Opportunity.
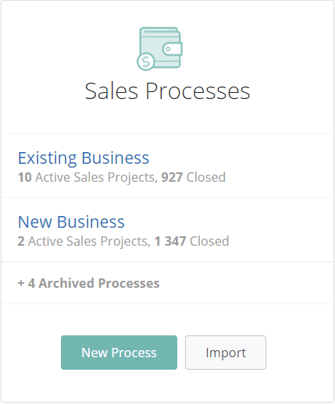
You may have different Processes for different types of Sales workflows you want to track. For example, a New Business Process focuses on gathering information about a new customer and understanding their requirements. AND, an Existing Business Process, possibly with a shorter sales cycle length, which could be more streamlined as there is already a lot known about this customer.
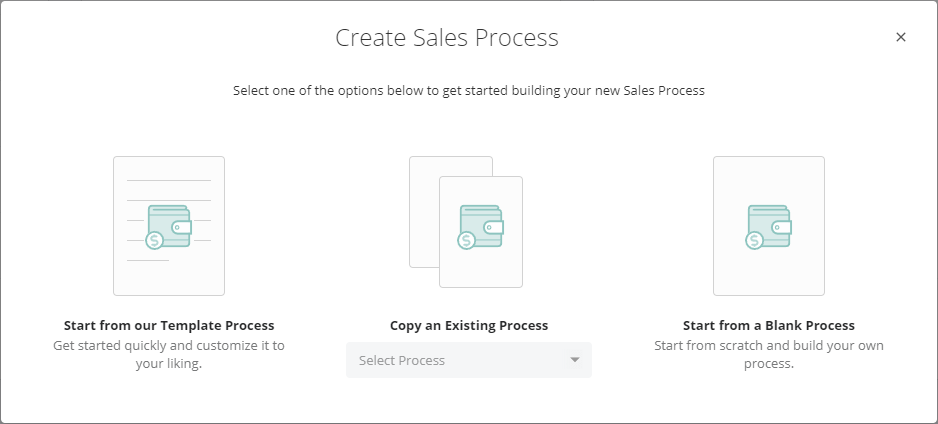
Membrain Administrators can import or create new Sales Processes from the System Setup ![]() area. When creating a new Process, you will get three options:
area. When creating a new Process, you will get three options:
You can now start to build and design your Sales Process to guide your sales team through a Sales Project, with all the resources, coaching, and insights they need to be successful.
To simplify things, we've broken it down to individual areas to be configured, along with the tools that can be added to complement your process.
Begin by setting up the basics of your Sales Process workflow. Map out each step of your process and break it down into 1 to 5 stages. While constructing your process, it's important to know that you can also modify it. Should you need to delete a stage in the process editor, simply click on the name of the stage and select the delete option. Once you have a solid foundation that reflects your Sales Process, you can then add more complex tools later on.
Watch our short video and learn how to Build a simple sales process.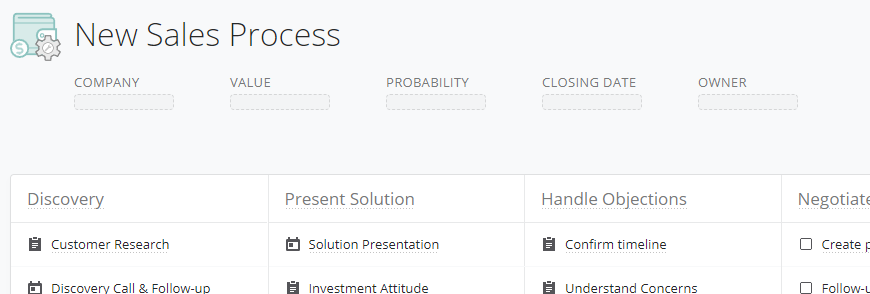
You can change the name of your Process, add a Process Description and pick a specific user to be responsible for managing and editing the Process. Click on the Process header to add/edit this information. 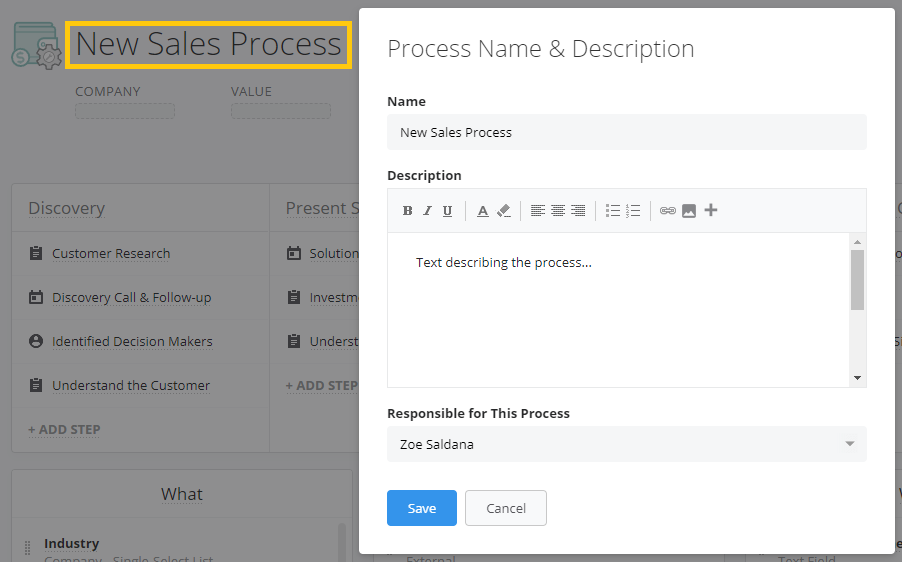
This information is then previewed when hovering over the Process name inside the individual Sales Projects.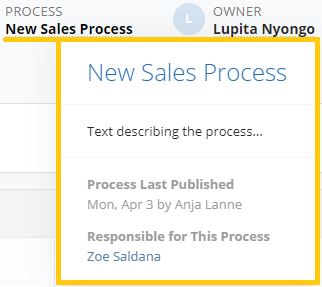
Now that you've built the basics of your process, you can start to think about what you would like the salesperson to actually do at each step, from a practical perspective. Adding tools and details to individual steps (like playbooks, scorecards, email templates) allows you to assign a task to specific steps, and coach the salesperson on the task at hand.
Watch and Learn more about how to Add Tools and Details to steps.
The area just below the Process itself is known as the 3 Boxes - What, Who and Why, These are used to capture key information about the opportunity and show it at a glance.
Make the most out of the What, Who & Why Boxes.
Adding probability to your Sales Process is a fundamental part of effective pipeline management and reliable forecasting. The probability of a sales project is measured in percent and increases as a salesperson becomes closer to winning an opportunity.
There are a number of ways you can apply probability to your process, giving you control over how you calculate the success of opportunities.
Read all about your options in this article Configuring probability in a process.
Using Rules is a great way to help you stay on top of what's important, keep the momentum up, and ensure your projects are in a healthy state. They also help you prioritize your work based on the health of your projects.
Learn how to get started with Process Rules.
Sales can be repetitive sometimes, and nobody likes to have to carry out simple tasks over and over. Automated events make salespeople's lives easier by automating tasks in Membrain when certain events happen.
Watch and learn how to make the most from Automated Events.
In Membrain, all the options you need to customize your Sales Process are neatly organized under a single 'Settings' button. This centralized hub offers four distinct tabs to guide you through the process of fine-tuning:
Each tab is tailored to help you manage your Sales Process efficiently, streamlining the customization process from start to finish.
Looking to refine your project management even further? In Membrain, you can specify both Win and Archive Conditions directly under the 'Outcome' tab in the 'Settings' menu of the process editor.
For Win Conditions, you have two primary options. The "Default" setting enables you to Win, Qualify, or Resolve projects without any conditions. Alternatively, you can opt for customizable criteria that must be met before you can perform these actions.
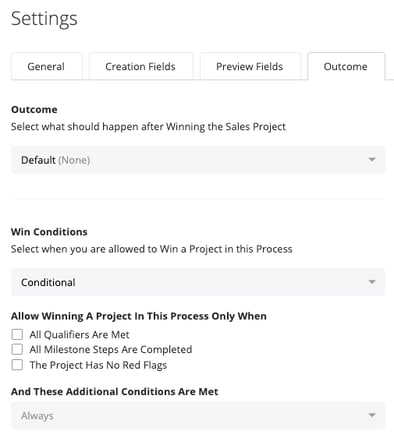
Archive Conditions are just as intuitive. You have the choice between "Default," which enables you to always archive or disqualify a project, and "Conditional," which allows you to perform these actions only when predetermined conditions are met. These conditions can encompass everything from standard fields to custom fields specific to your process.


