Using the Permissions features in Membrain is a powerful way to easily assign different rights to individuals, allowing you to control access and edit rights across different areas and features of Membrain.
You may want an individual sales representative to only see his/her sales projects, prospects and activities, whereas a regional sales manager should be able to view everything related to his/her team.
OR
You may only wish to grant limited permissions for users in a pre-sales or supporting role, and more extensive right for your power users and managers.
Permissions are applied by creating Permission Groups with specific rights. Then, by applying one or many Permission groups to a user, you can give them the predetermined rights and permissions you wish. This is done by an administrator of Membrain from the User Management area of Membrain.
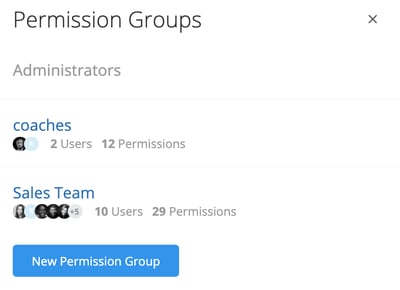
To create a new User Permission Set, follow the instructions below:
Once you have created a new Permission Group, you can apply it to a user.
To do this, follow the instructions below:

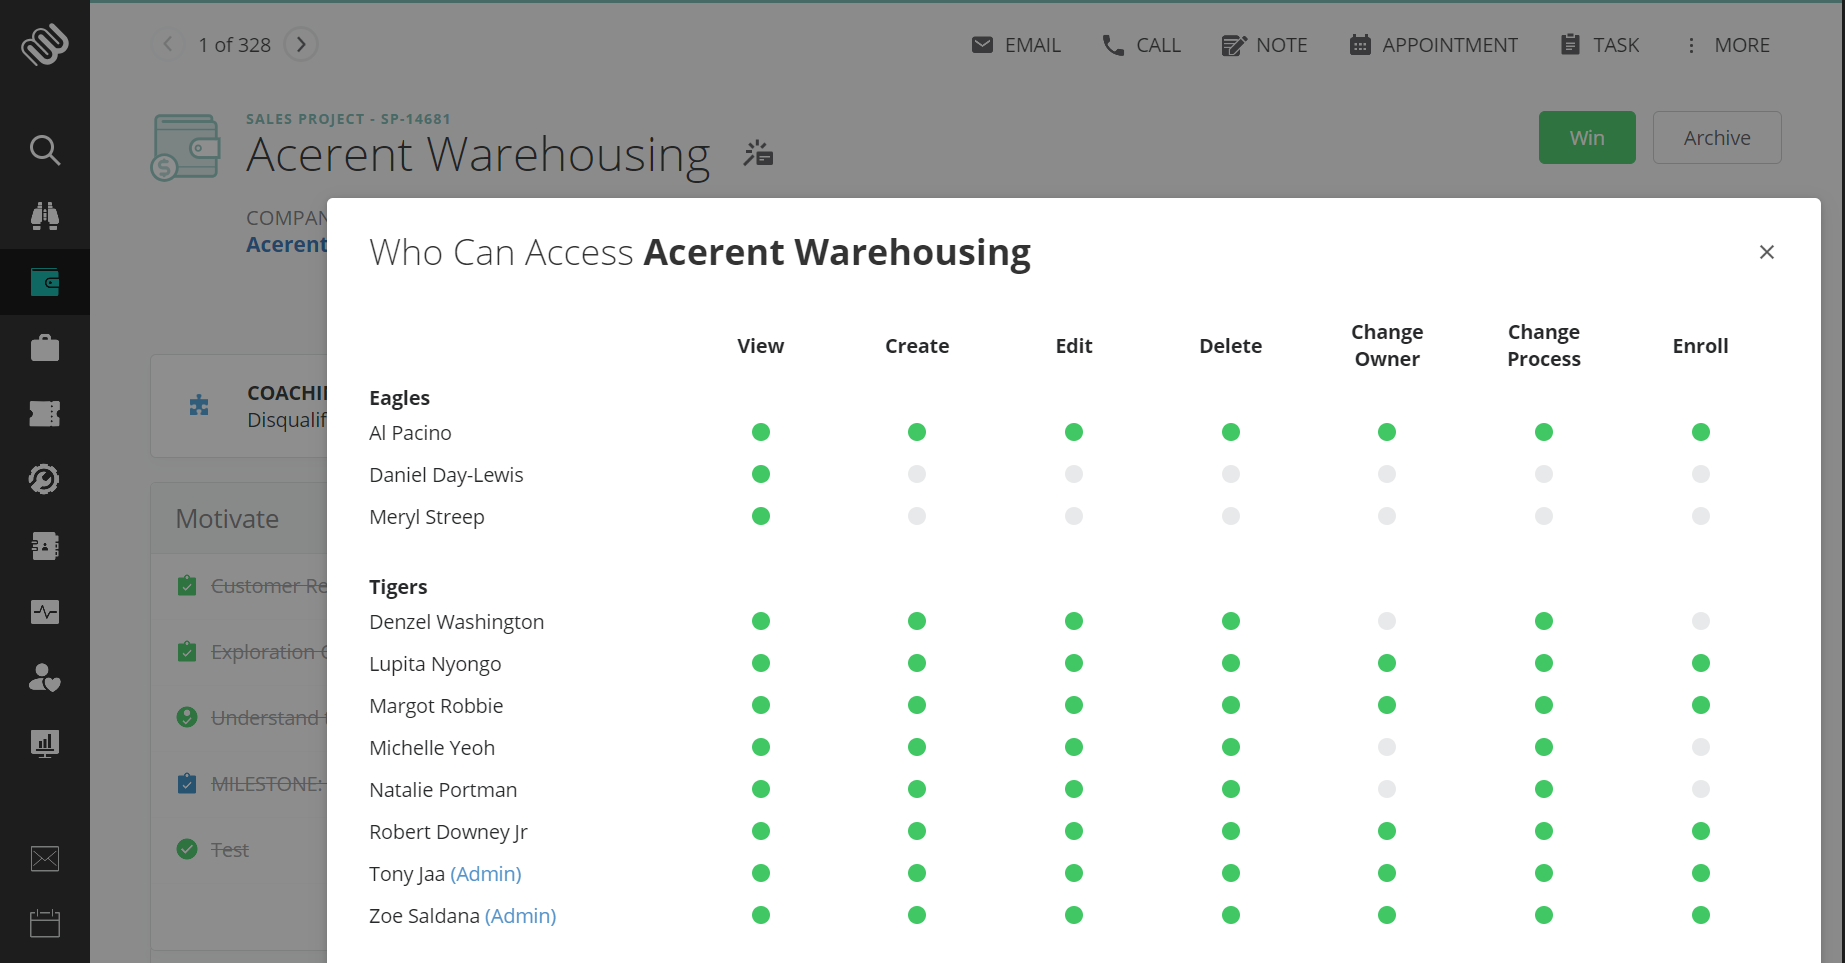
As more groups and granularity are added to Permissions, things can of course become more complex to manage. Therefore, there is the "Who Can Access" view - only available to Administrators - to help you manage permissions and understand who has access to what.
From a Prospect, Sales Project, Account Growth Project and Ticket, you can see who has access and at what level, at a glance.
Use this handy tool (accessed from the More Menu in any Project) to quickly spot who has access on a Project level, and get a better understanding of how the Permissions you have created, are applied to each user.
Show who can access (Admin)
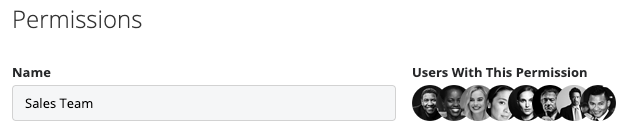
In Membrain, permissions are organized within a streamlined UI in the Permissions creation/edit form, simplifying the process of assigning and understanding different rights.
Name Field: At the top of the form, input the name for the Permission Set in the 'Name' field.
List of Users with Portraits: This section displays all the individuals to whom this Permission Set is assigned.
The Sales Workflows section is tailored for managing permissions related to Prospecting, Active Pipeline, and Account Growth. This allows for a granular control over who can view, create, edit, or delete projects within these critical sales stages. Each of these subsections has Basic and Advanced groups of permissions.

A user will always have access to Projects they own, ensuring continuity and ownership rights are maintained.
The Supporting Workflows section houses permissions regarding Tickets, Flows and Elevate. This section ensures that permissions are accurately assigned to support the Ticket processes, the flows processes and Membrain Elevate, facilitating a smooth operation within Membrain. A user will always have access to Projects they own, ensuring continuity and ownership rights are maintained.
Note: Any users who are getting added to a permission group with tickets will get charged with a ticket license.

The CRM section within the System Configuration allows for the management of permissions related to customer relationship management functionalities. This ensures that the right individuals have access to crucial customer data and interactions.

The Analytics permissions govern who can view and work with data analytics within Membrain. Analytics are essential for data-driven decision-making and with the adequate permissions it allows the right personnel to have insight into sales performance.

The Content Hub permissions control access to the Content Hub and its resources. This ensures that the relevant individuals can view, create, or edit sales enablement, collateral content, and content rooms that are crucial for your sales processes.

The System Setup permissions oversee configurations on an admin level. This section ensures that only authorized individuals can make changes to the system settings, including processes, fields, user management, and more, ensuring the integrity and security of your Membrain instance.

In most cases, the default permissions meet the needs of project managers and support staff effectively. Typically, permissions are set to 'All Users' to facilitate this. However, in instances where permissions have been restricted to 'Current User'—limiting access to just the individual owners—there may be a need to grant editing capabilities to additional team members.
For these outlier scenarios, Membrain permits the creation of a supplementary permission set. This set can be integrated with a user's current permissions, providing them with the specific editing access required for their role, without altering the standard and preferred settings.
Here's a scenario that outlines how to set this up:

By following these steps, you'll grant internal stakeholders editing access to projects they're able to see as defined by their original permission set. This fosters a collaborative environment where various team members can contribute to and modify project details as needed.


