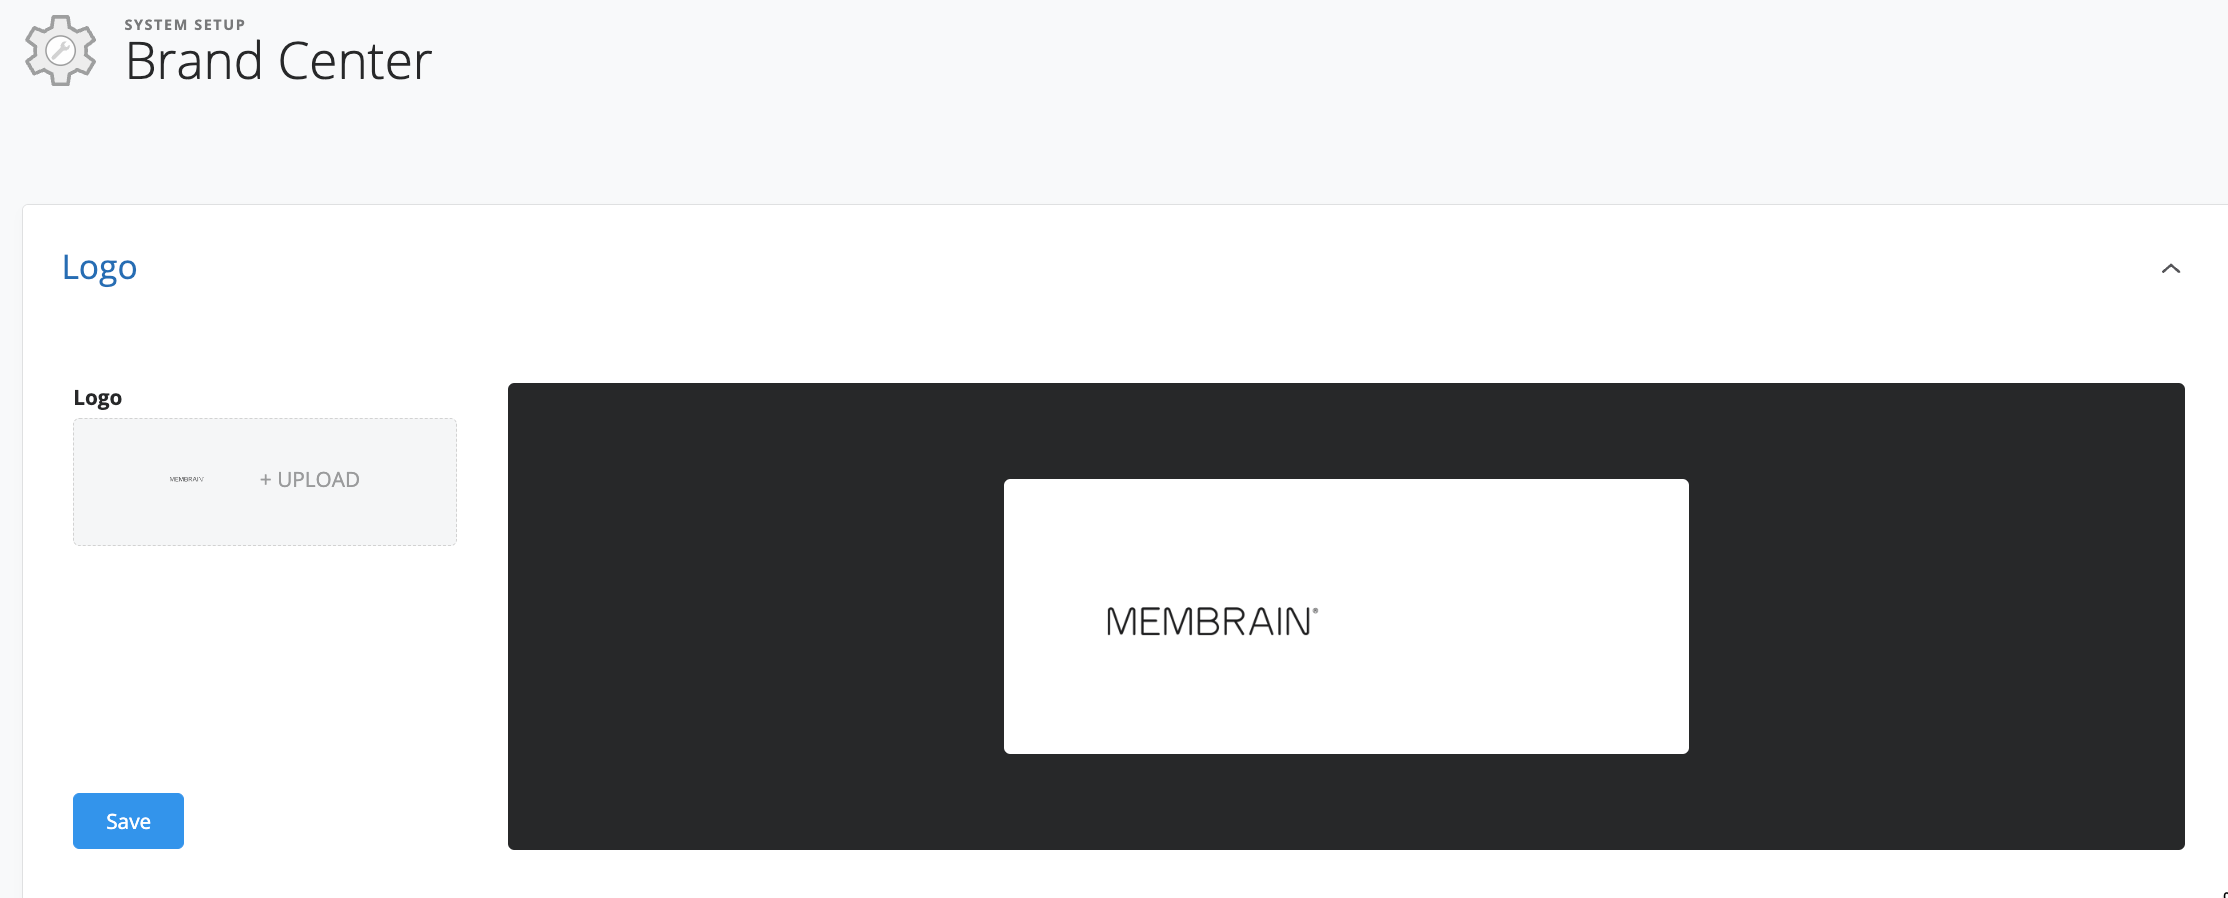
It is possible to customize your Membrain instance using your own Company's branding, giving your team and the contacts you interact with via Membrain a more professional experience.
To set up your Membrain account with custom branding, follow these steps:

Once added, your company brand logo will be visible in the following areas of Membrain:

Images should be:
- File size 300 x 40 px
- Transparent
- File types supported are .png, .gif, and .jpg
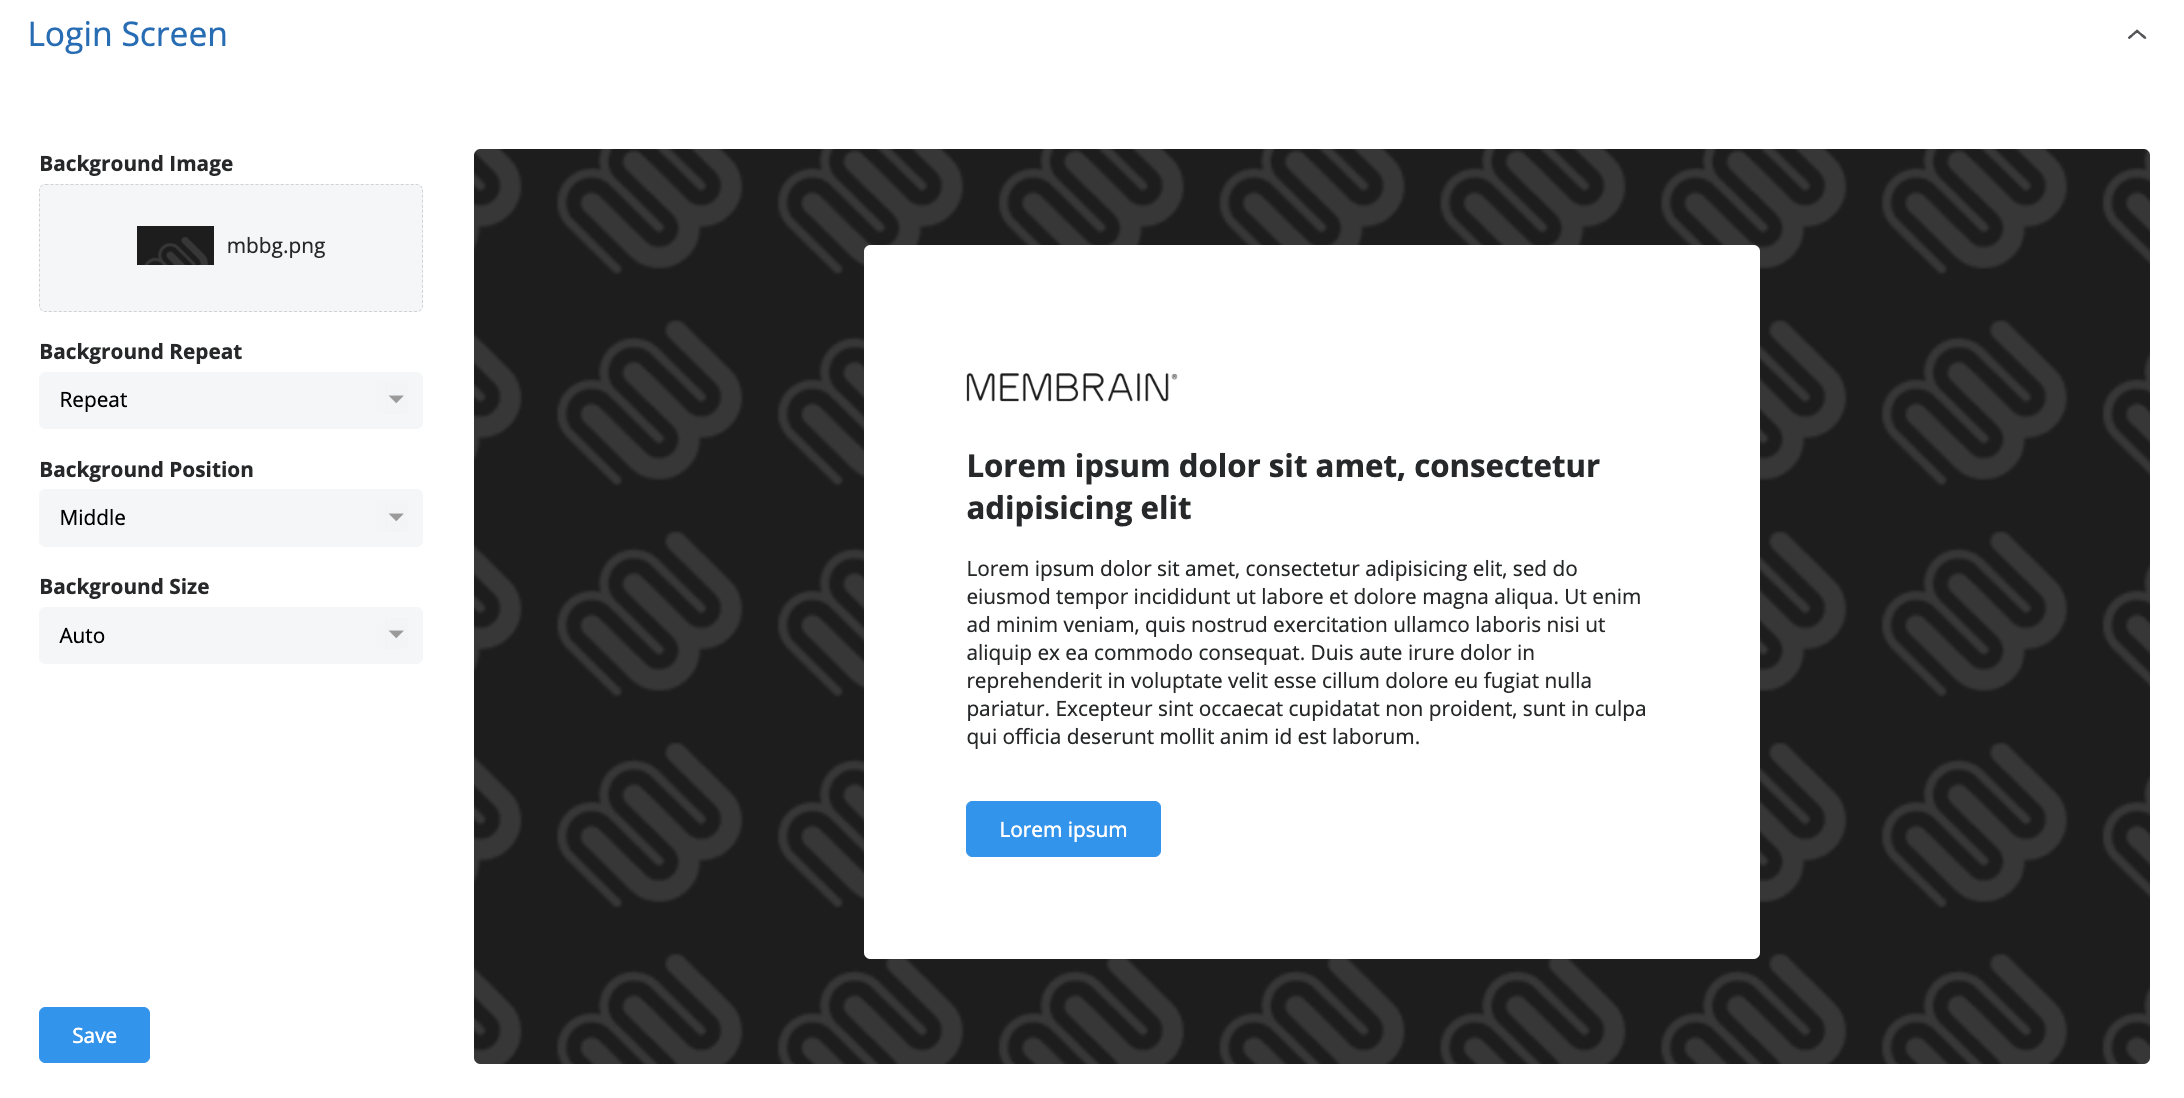
In this section, you can set up what your login screen will look like for your Membrain users.

In the Brand Colors tab, you can define up to 10 brand colors by adding HEX color codes. These colors are then available for use in areas like quote templates, supporting a consistent visual identity across customer-facing documents.
To set brand colors:
Click Add Color
Enter a HEX code (the default will start as black)
Click Save

In the Brand Images tab, you can upload up to 10 custom images that become available in the image picker across Membrain. These images can be used in features like the Content Hub and Elevate, making it easy for teams to stay on-brand when adding visuals to content.
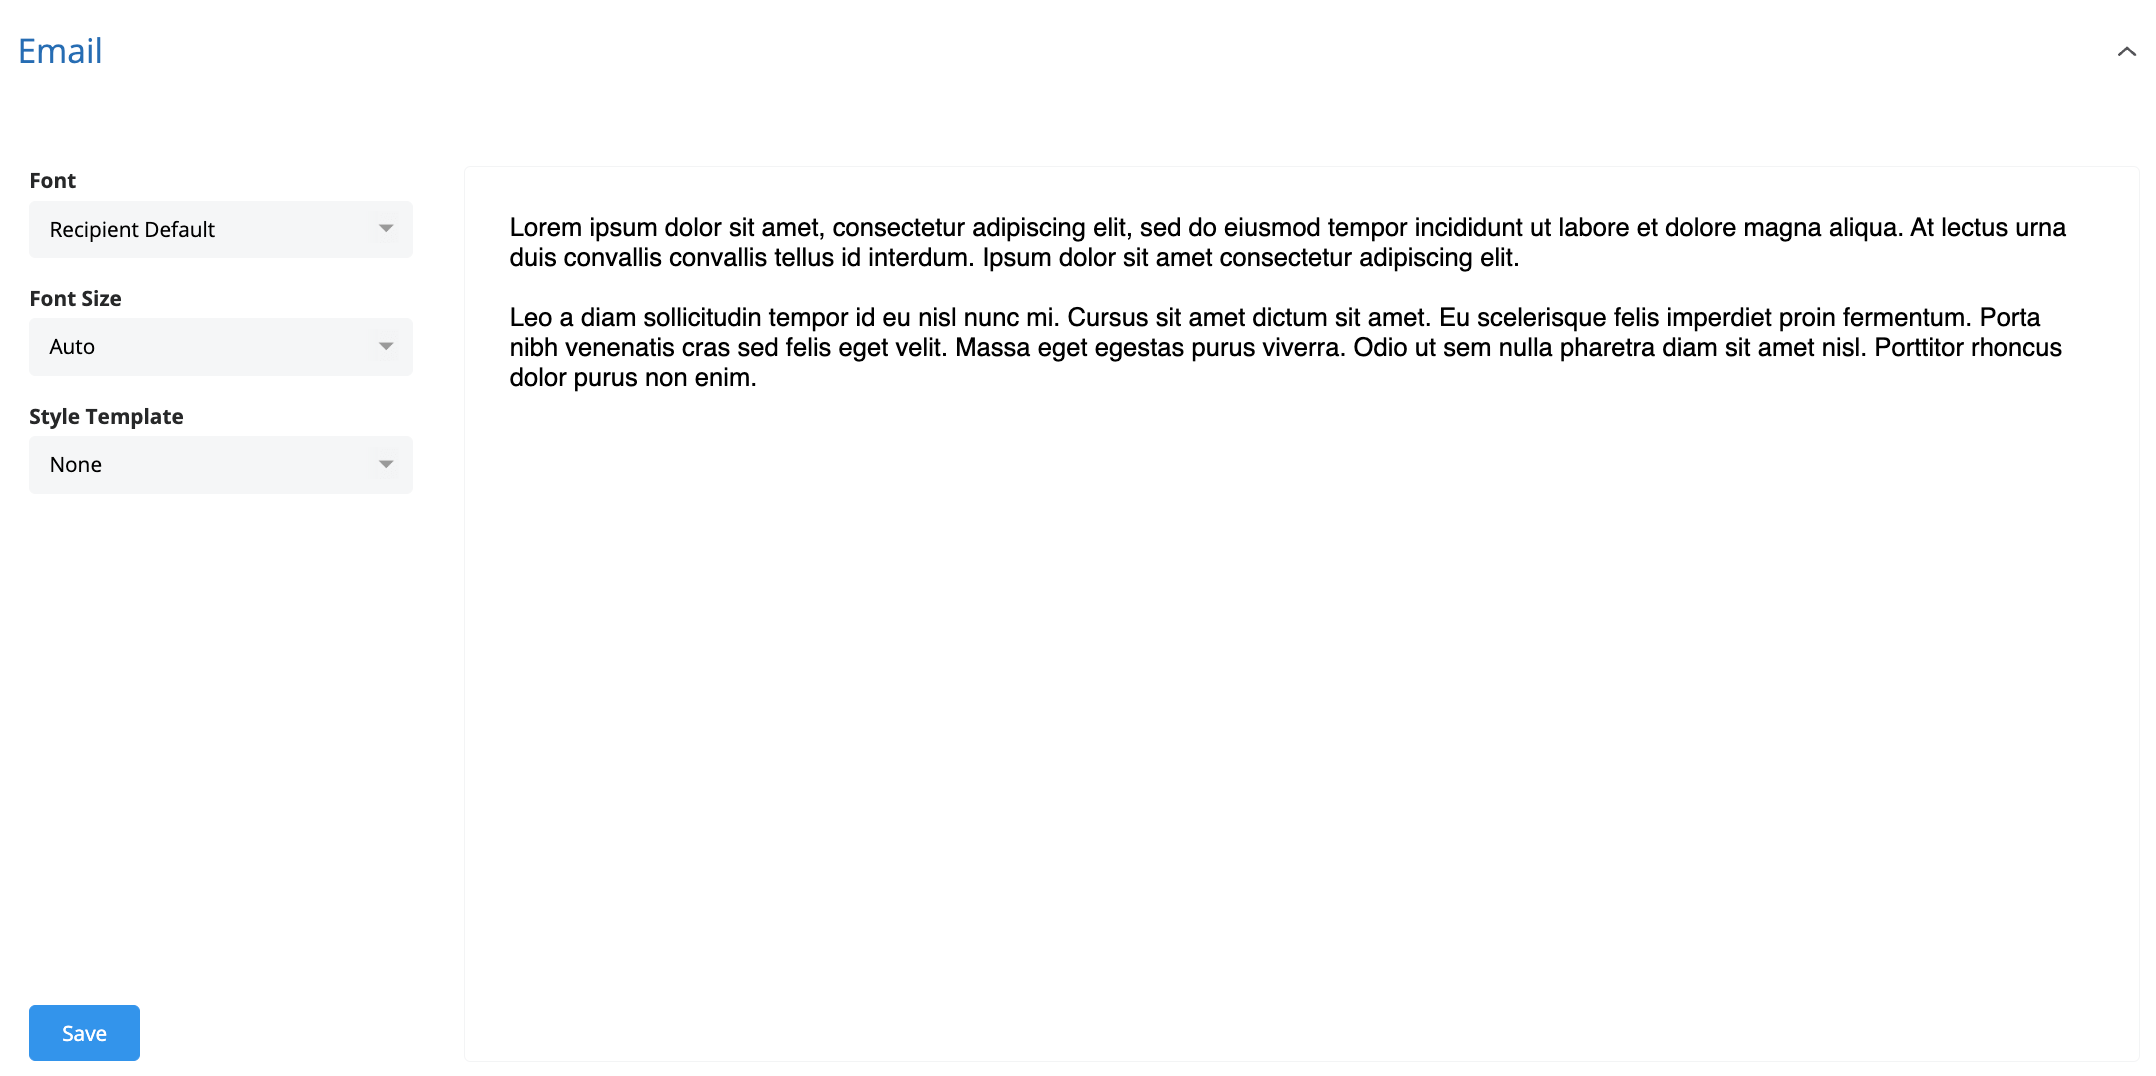
In this section you can set up some email defaults for your Membrain users including Fonts, Font Size, and Email Style Templates.

In addition to customizing your logo and login screen, you can now set up a centralized email signature for all users in your Membrain instance. This ensures a consistent and professional look for all emails sent through Membrain. When this centralized email signature is enabled, individual personal email signatures will be overridden.
Email Signature Footers can be added to either personal or centralized email signatures, providing flexibility for different teams or purposes. Only one footer will be appended to an email, based on the following criteria:

Using a centralized email signature and/or footer signature will affect the My Settings > Email section of your users. Users will be notified when footers are being used and when the centralized signature is enabled by the admin. This ensures everyone is aware of the standardized email format being applied.

Under the Quotes tab, you can now define a default quote style template. By selecting a default template from the dropdown menu, every new quote created will automatically use that style.

If no template is selected, quotes will default to a plain layout. You can change the selected template at any time by revisiting the Quotes tab and saving your new preference.
If you don't have a marketing company at hand to provide you with your Company Logo within the limits described above, it can be tricky to get the logo to look good without being skewed out of shape.
You may need to edit or resize your Logo using image editing software and test a number of times before it looks correct.
Go through the steps above and re-upload your Logo until you find a good configuration that works, or if you have any issues, please contact us at support@membrain.com, and we'll be happy to help.
From north to south, east to west, Membrain has thousands of happy clients all over the world.


