Popular Content
Membrain for:
The Content Hub is a great place to store all your resources, where you can have them at your fingertips in Membrain. It ensures that your sales team has the collateral (white papers, case studies, demo videos, and more) exactly when they should be sharing it in the sales process.
In this article, we will go through how to add your resources to the Content Hub, and how to add Context, to ensure the relevant resources are available right when you need them.
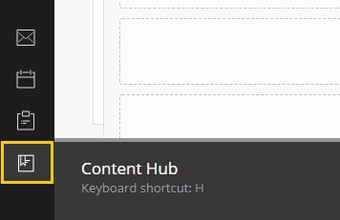
You find the Content Hub itself in the Membrain Menu to the left, though the resources you add to the Content Hub will be available to you in lots of places throughout Membrain.
Click on the icon to go straight to the Content Hub, or hit H on your keyboard to jump straight there.
 at the top right-hand side

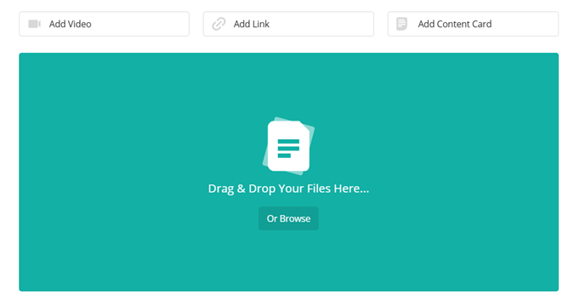
Once you've added your content, you need to "add context" to it. By adding context to your content - like a sales process stage, a stakeholder, or a specific industry - Membrain will recommend it to you in different places when it is most relevant. You can even mark the content you love as a favorite, so it's always easily accessible.
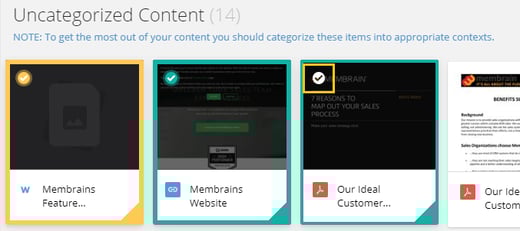
Once you have added some content, you will see it in the top row of the Content Hub in the Recently Added area and also in the Uncategorized Content area, until you add some context to it.
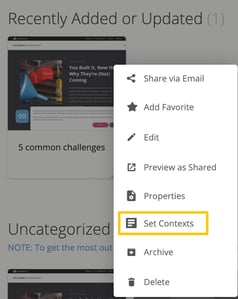
There are lots of different ways to add Context to your Content, making it easy for you to add this all-important information to your Content. Choose the way that suits you best.
This is the best way to keep your Content organized and always up to date. Adding context during the upload process ensures all your content is relevant and included in recommendations from the get-go.
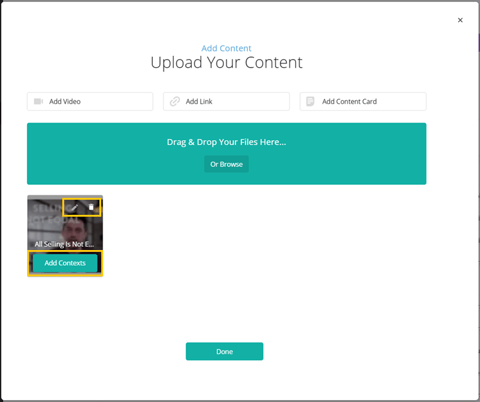
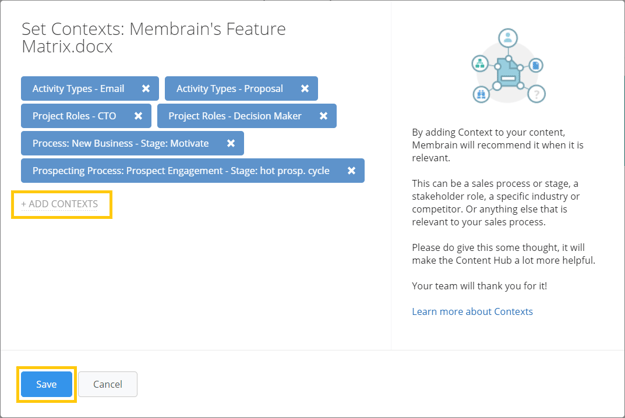
This is a good way to keep on top of Content that has been uploaded previously, or you are building up your Content Hub slowly but surely.
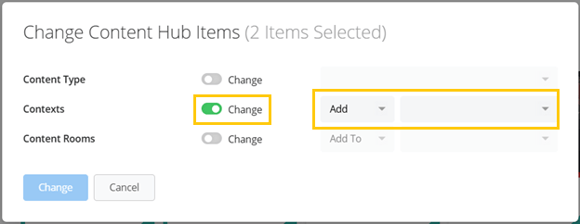
A time-saving option if you have lots of Content you wish to upload straight away that shares the same context.

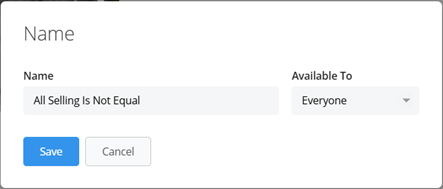
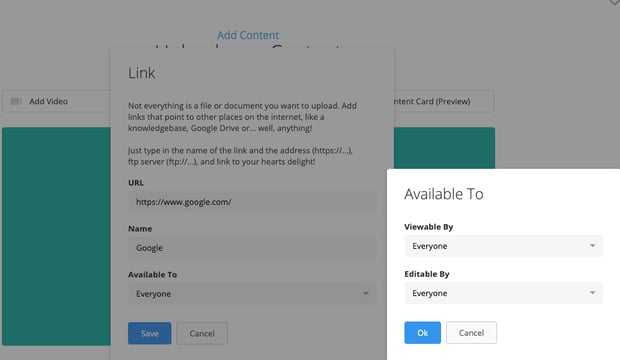
In Membrain's Content Hub, content items such as Collateral, Enablement, Links, Files, or Content Cards are not only easy to add but also customizable in terms of who can view and edit them. This ensures that your team members have the right access to the content they need.
While Adding New Content: Select the content type you wish to add and upload your content. During this process, you'll have the option to specify who can view and edit the content. By default, both of these options are set to "Everyone."
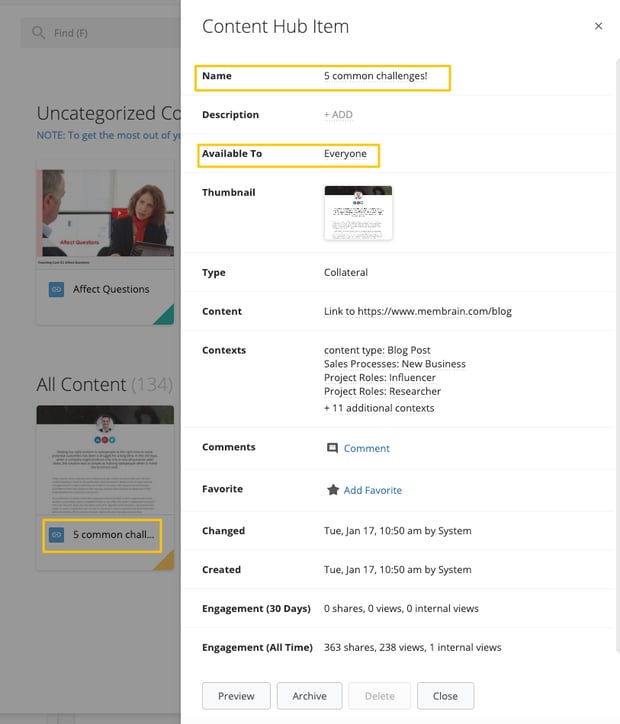
Editing Existing Content: Right click on the content item in the Content Hub. Click on Properties. This will allow you to modify the "Available To" settings for that item, provided you have the necessary permissions, edit contexts, favorite and get additional information such as engagement data.
Administrators can configure additional settings that affect how externally shared Content Hub content is presented to recipients.
To access these settings, go to System Setup > Productivity and Collaboration > Content Hub Settings.
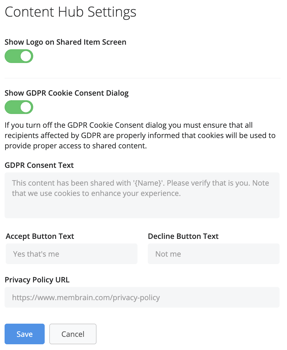
The first option allows you to choose whether your company logo is displayed on externally shared Content Hub pages. Enabling this setting helps provide a more branded experience for recipients viewing your shared content.
You can also control whether recipients are shown a GDPR cookie consent dialog before accessing shared content. If enabled, you can customize the consent message, the text displayed on the accept and decline buttons, and optionally provide a link to your organization's privacy policy. If no privacy policy URL is entered, a default privacy policy link will be used.
As an Admin, when you hover over any filter, a pin/unpin icon will be visible, allowing you to easily pin a filter for all users to have quick access to filters you deem essential. By pinning a filter, you're highlighting its importance and ensuring it stays prominently accessible within the Content Hub. This action helps to guide the sales team towards the most relevant content, facilitating a more efficient search process. Unpinning a filter, conversely, removes it from the immediate view but keeps it available for those who need it.
Congratulations! You have now successfully added contextual content and understand permissions in the Content Hub, and are ready to start using these resources from inside Membrain! Learn more in this article How to use the Content Hub.