Hubspot is changing the authentication method for accessing their API, and starting November 30, 2022, HubSpot API keys will no longer be used as an authentication method.
Instead, you'll need to use OAuth to authenticate API calls.
To ensure you experience a continued frictionless flow of data between Hubspot and Membrain, we have created a new version of our Hubspot integration, which you should migrate to as soon as possible.
Summary of changes required
Making the switch is easy and should take less than 10 minutes. There is no need to go through any other setting configuration, just reauthenticating with Hubspot's new format is all that's required.
Briefly, you will need to do the following:
- Authenticating to the new version (v3) of the Hubspot integration
- Stop the old version (v2) sync
- Start the new version (v3) sync
Below, you will find detailed instructions for every step required.
1. Authenticating to the new version (v3) of the Hubspot integration
In Membrain, go to System Setup - Integrations - Hubspot Integration
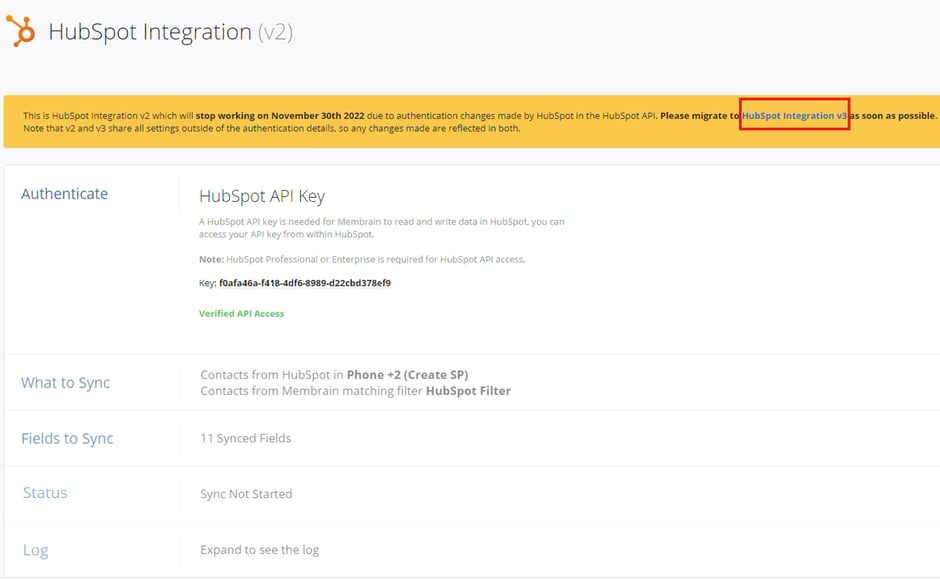
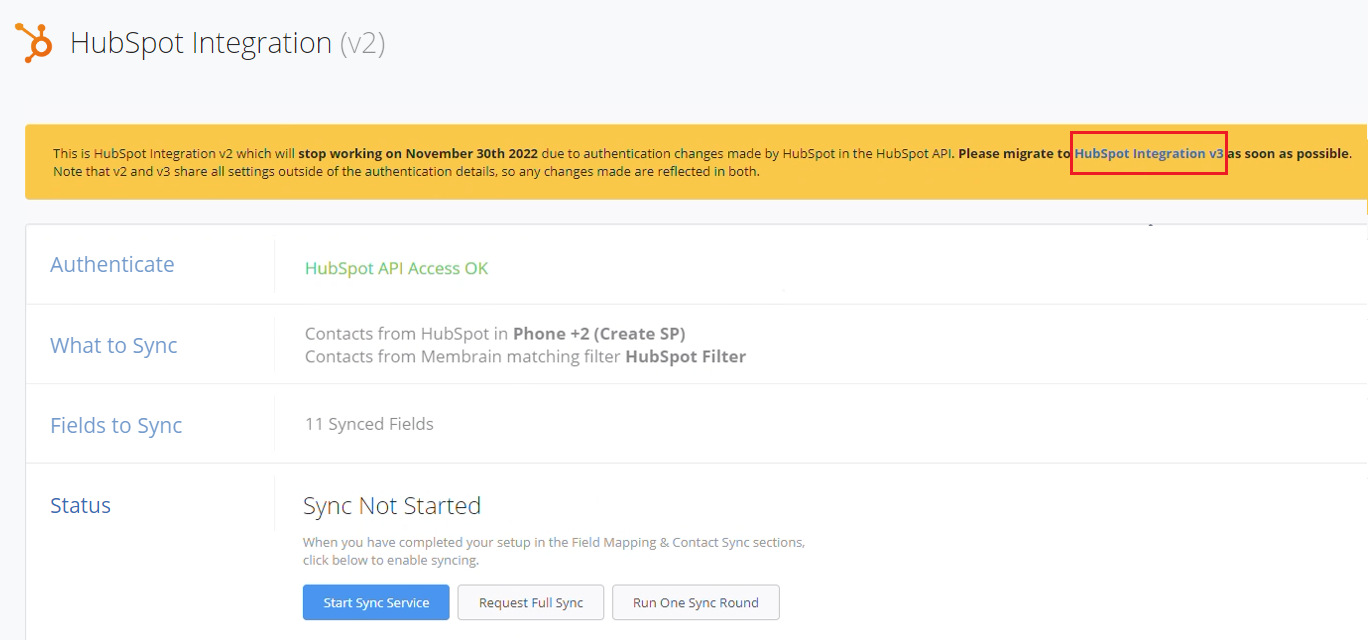
- In this view, you will see which version of our Hubspot integration you're in. If you're still on the old one (version 2), then click on the Hubspot Integration v3 button to authenticate to the new version, as shown below.
When you're in our new Hubspot integration version (v3), in the Authenticate section, you'll see the message HubSpot API Access Not Available. That's totally normal, as you haven't authenticated to this version yet.
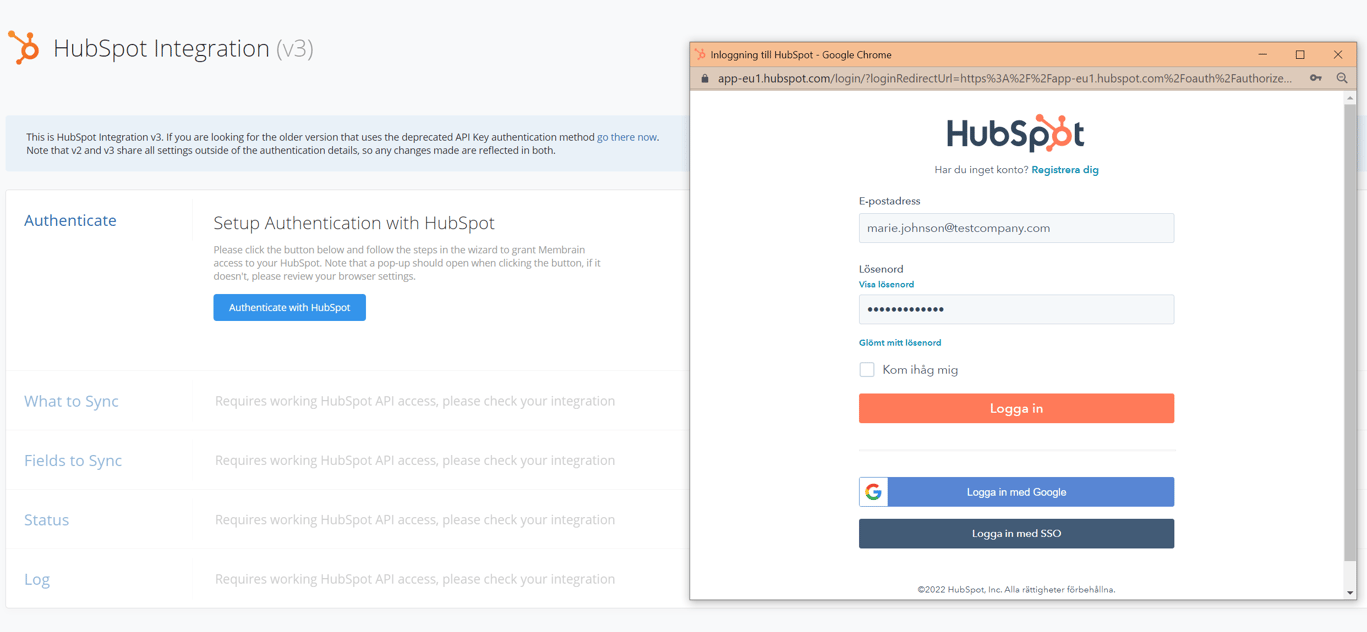
- Click on the Authenticate section to bring down the menu and click on the Authenticate with Hubspot button.
- If you're not logged into your Hubspot account, you will need to log in with your credentials.
Note: you need to have Super Admin permissions to carry out this task.
- Once you're connected, you will be prompted to select which account you want to connect to the integration.
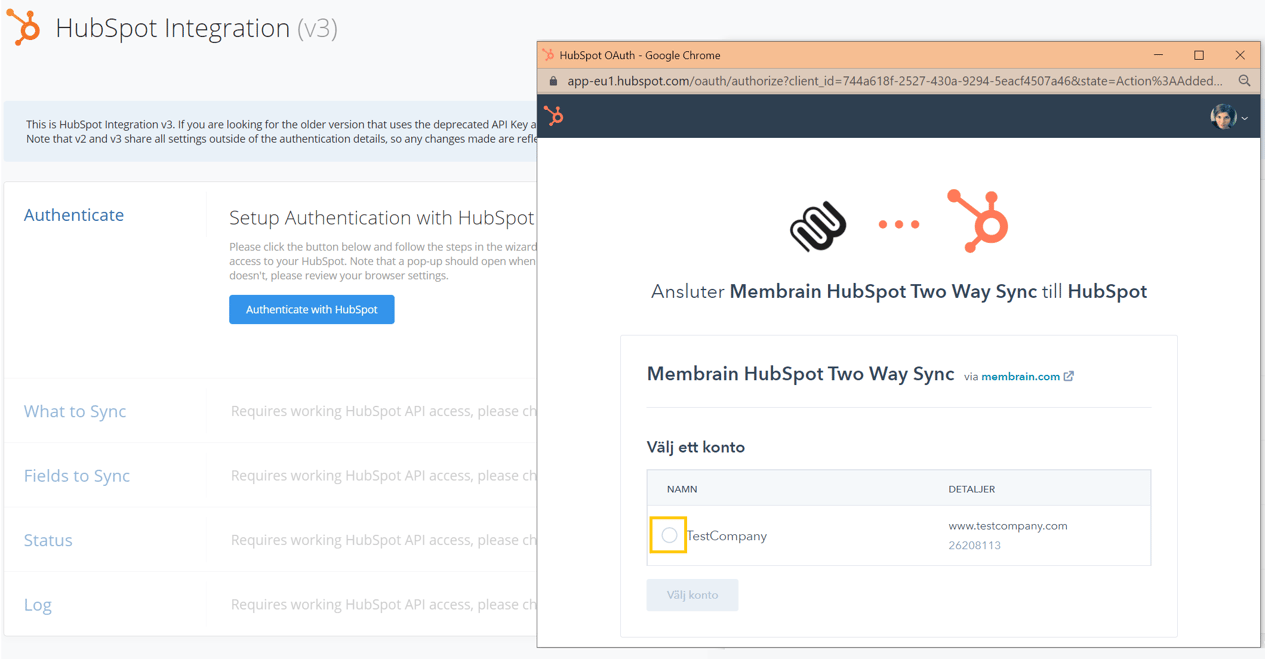
- After selecting the account you want to connect, click on Connect app.
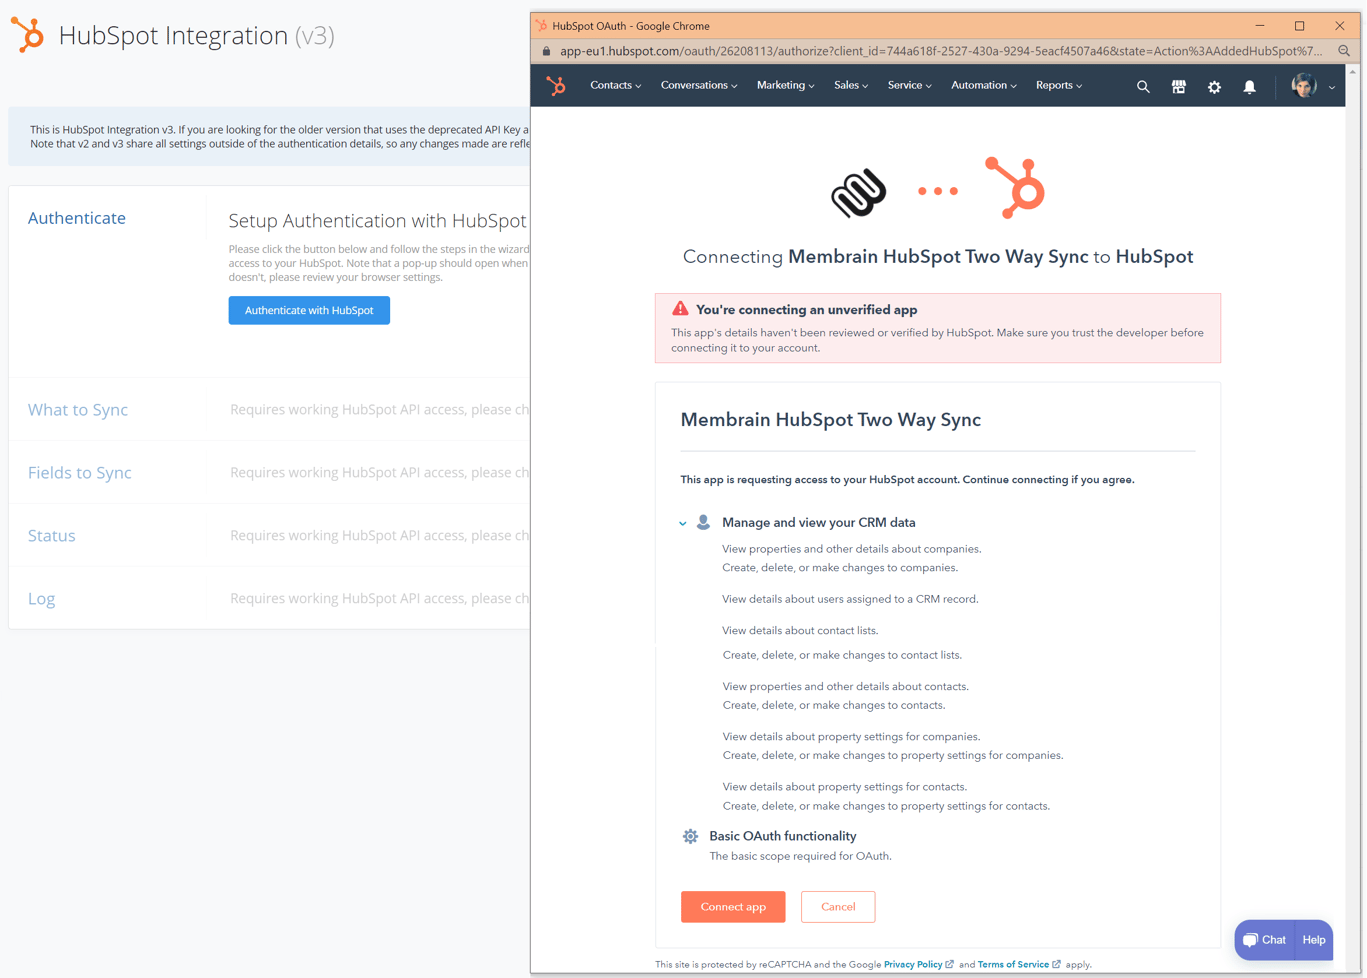
- The authentication to the new version of our Hubspot integration (v3) is now done!

2. Stop the old version (v2) sync
- First, you'll need to stop the sync in the old version (v2) of the Hubspot integration. To do that, click on the go there now button to get redirected there.
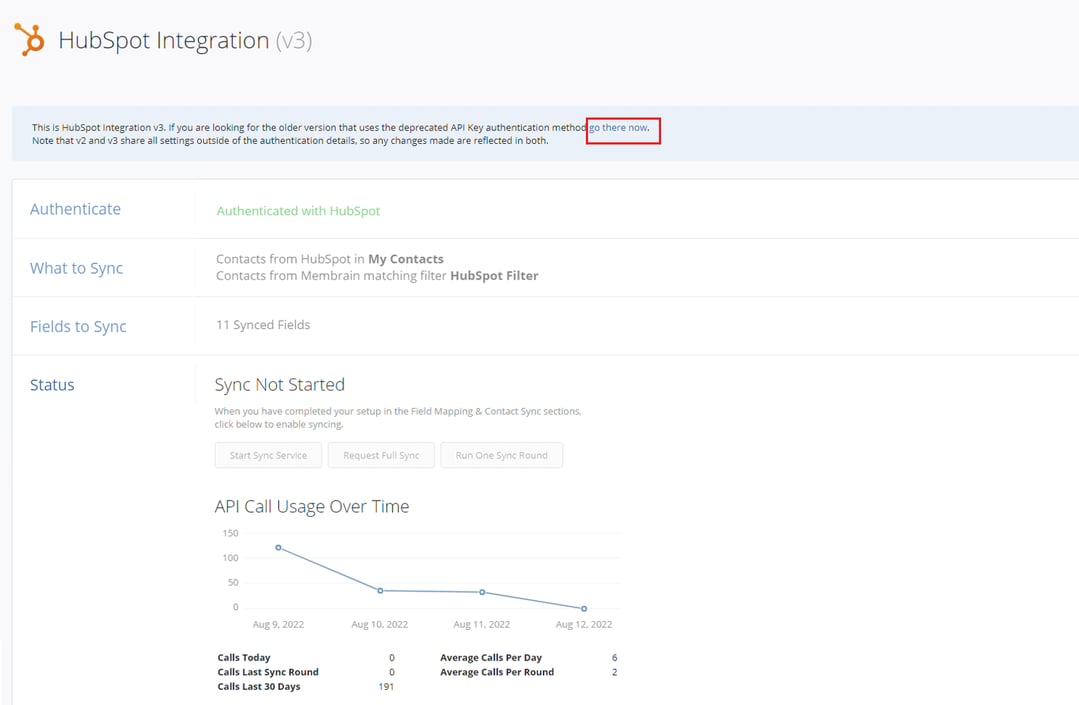
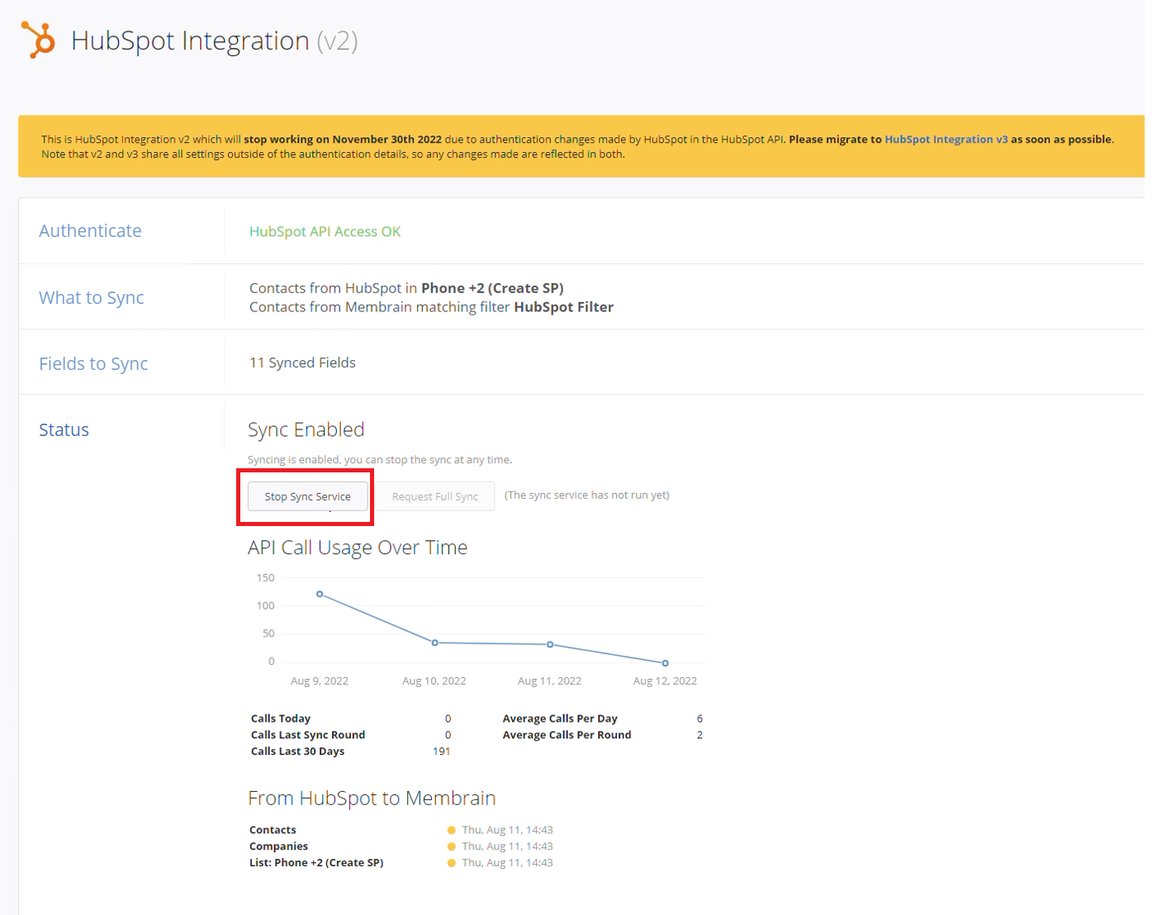
- When you're inside version 2, scroll down to the Status section and click on the Stop Sync Service button.
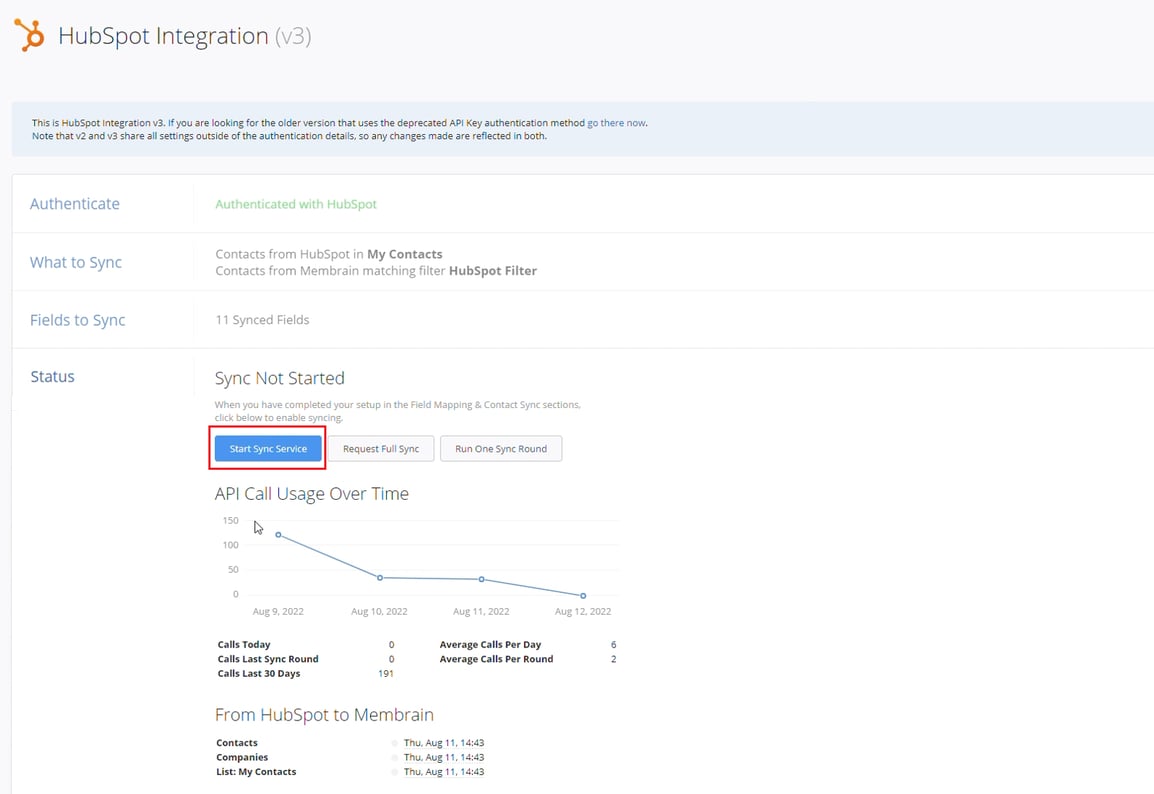
3. Start the new version (v3) sync
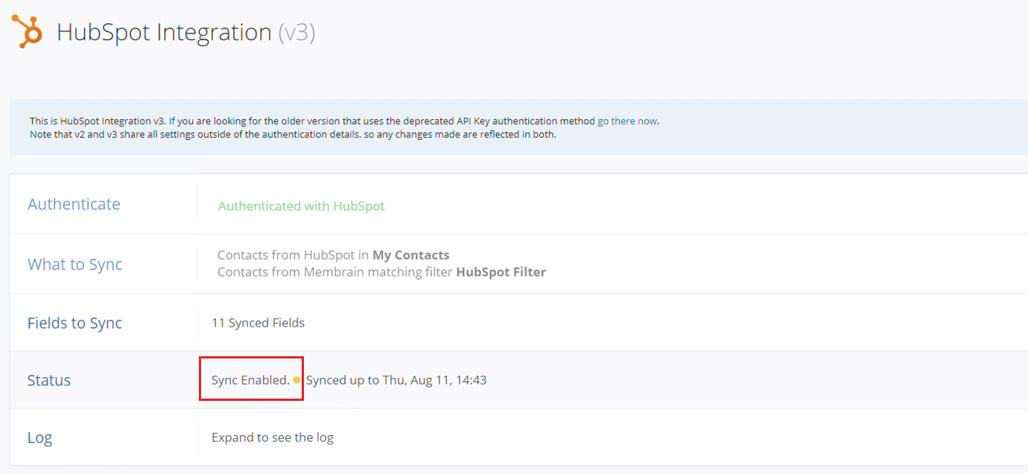
- Now go back to the new version (v3) of the Hubspot integration, as shown below.
- Scroll down to the Status section and click on the Start Sync Service button.
Congratulations!
You're done. The sync for the new version of the Hubspot integration (v3) is enabled.